---
title: Laravel and MySQL
layout: framework_docs
objective: Notes and configurations on connecting with the relational database classic, [MySQL](https://www.mysql.com/)
order: 1
---
For data store, why not start with a relational database classic: [MySQL](https://www.mysql.com/).
You can run your own MySQL Fly App, or set up a PlanetScale MySQL-compatible serverless database.
## _Laravel and MySQL Fly App_
To run MySQL as a [Fly App](/docs/app-guides/mysql-on-fly/), follow our guide [here](/docs/app-guides/mysql-on-fly/). Afterwards, you're good to connect:
1. Connect to your MySQL Fly App from a Laravel Fly App
2. Connect to your MySQL Fly App from a local environment
### _Connect from a Laravel Fly App_
1. Revise the `[env]` configuration in your Laravel application's `fly.toml` file to connect with your MySQL Fly App's [Fly .internal address](/docs/networking/private-networking/#fly-io-internal-addresses):
```toml
[env]
  APP_ENV = "production"
  DB_CONNECTION = "mysql"
  DB_HOST = "<MYSQL Fly .internal Address>"
  DB_DATABASE= "<MYSQL_DATABASE>"
```
2. Then, set up your Laravel Fly App's database username and password through [Fly Secrets](/docs/flyctl/secrets/):
```cmd
fly secrets set DB_USERNAME=<MYSQL_USER> DB_PASSWORD=<MYSQL_PASSWORD>
```
3. Finally deploy your Laravel Fly App changes with:
```cmd
fly deploy
```
### _Connect from a local environment_
The MySQL instance you spun up in Fly.io "[is closed to the public internet](/docs/machines/api-machines-resource/#notes-on-networking)", and can only be accessed by another application found in your Fly.io organization's private network. You'll need a way to tunnel into the network and finally connect to your MySQL instance.
<b>In this guide you'll tunnel to your MySQL instance through the use of `fly proxy`</b>
1. Open your MySQL application's `fly.toml` and take note of the following:
```toml
app = "<mysql-app-name>"

[env]
  MYSQL_DATABASE = "<database-name>"
  MYSQL_USER =  "<database-user>"
```
2. Then use `fly proxy` to tunnel to your MySQL application:
```cmd
fly proxy 3306 -a <mysql-app-name>
```
3. Finally, update your Laravel application's local .env file with the values from your MySQL `fly.toml` file:
```env
DB_CONNECTION=mysql
DB_HOST=127.0.0.1
DB_PORT=3306
DB_DATABASE=<MYSQL_DATABASE>
DB_USERNAME=<MYSQL_USER>
DB_PASSWORD=<MYSQL_PASSWORD>
```
## _Laravel with MySQL-compatible PlanetScale_
For a basic PlanetScale and Fly.io connection, follow [our guide here](/docs/app-guides/planetscale/).
If you're up for a multi-region level up, check out our [Multi-Region Laravel with PlanetScale](https://fly.io/laravel-bytes/multi-region-laravel-with-planetscale/) article.
Once you're setup with PlanetScale, connect your Laravel application in Fly.io through the following steps below:
1. Get Laravel connection information from PlanetScale instance
2. Connect from Laravel application in Fly.io
### _Get Laravel connection from PlanetScale instance_
Once initialized, your database dashboard should have metrics and options like so:
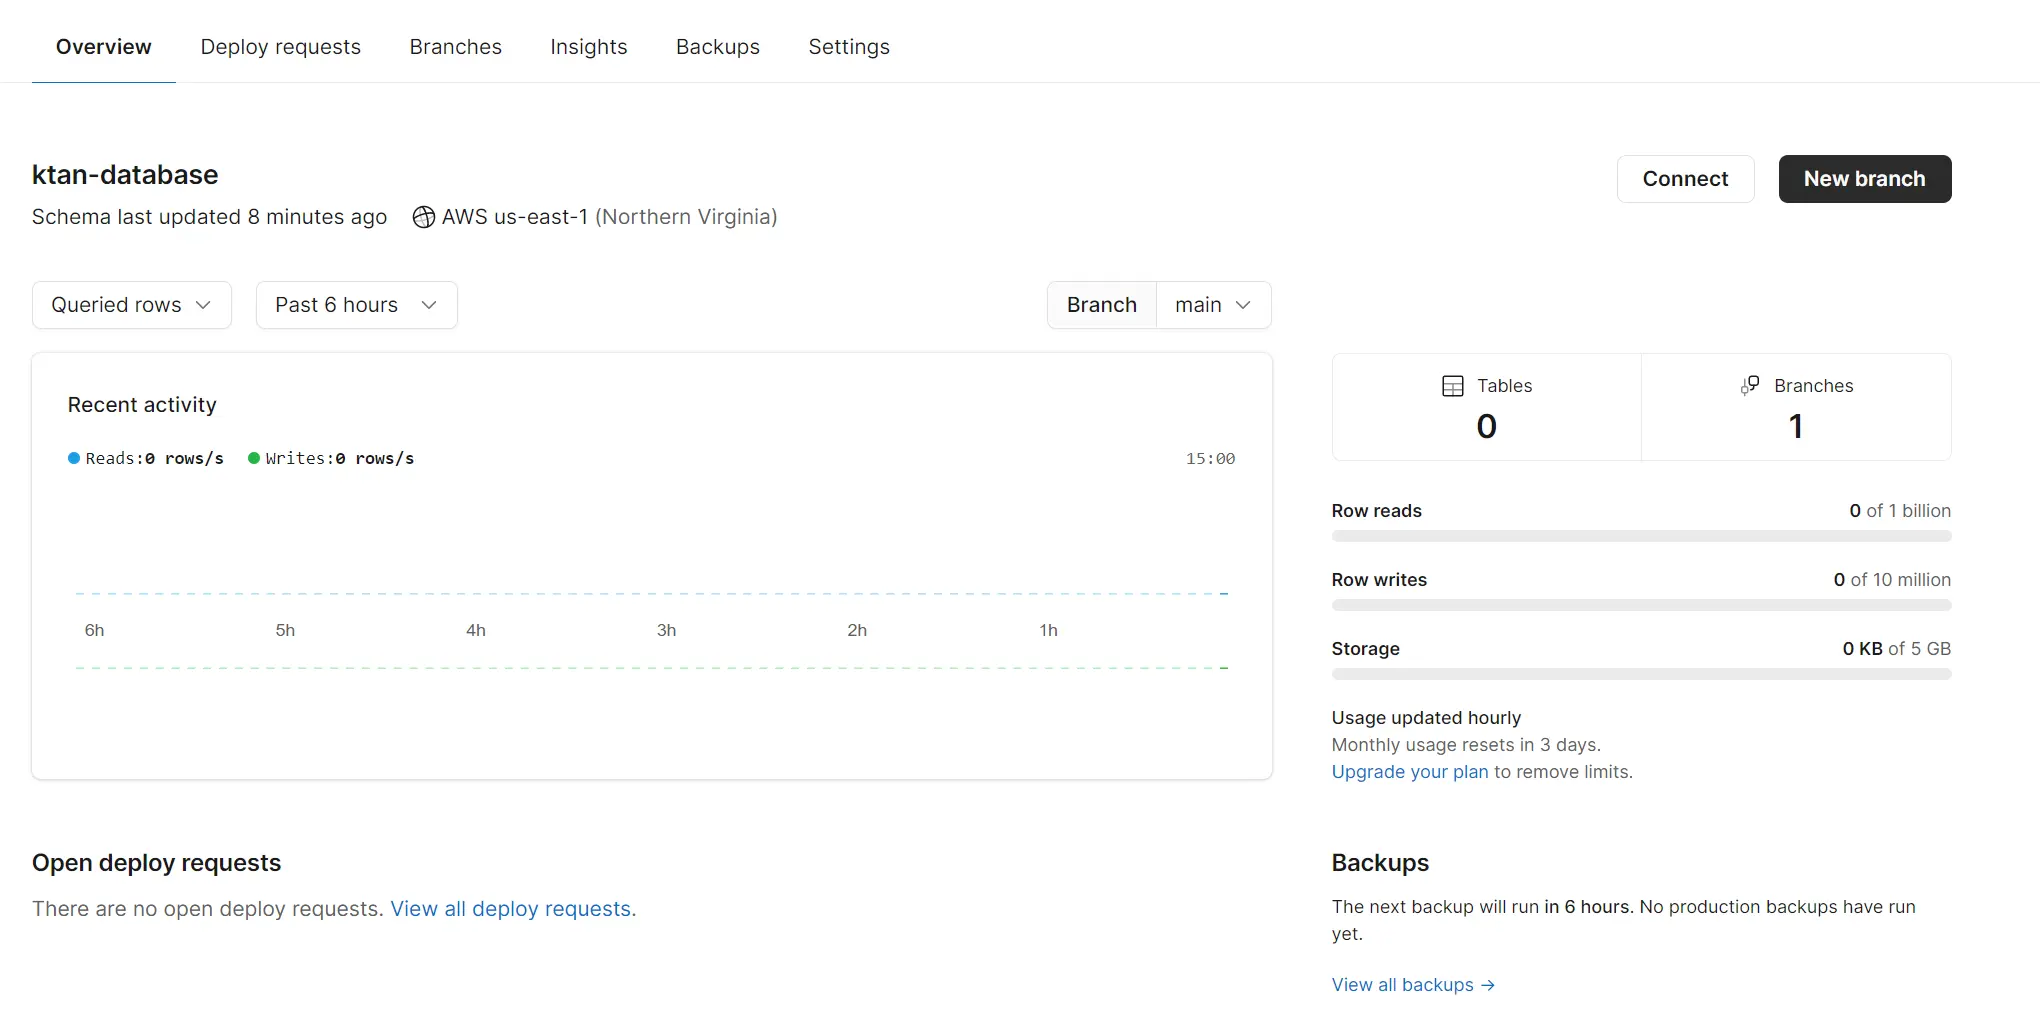
<ol>
<li>Click on the Connect button at the top right, this should provide a box of information for connecting with your PlanetScale database.</li>
<li>First though, make sure to add a password, by clicking on the "New Password" button at the upper right corner. This should show you a new password afterwards.</li>
<li>Next, select "Laravel" in the list labeled "Connect with"</li>
</ol>

Take note of the connection string provided and let's move on!
### _Connect from a Laravel Fly App_
1. Update the `[env]` configuration in Laravel application's `fly.toml` with details from the PlanetScale connection string
```
[env]
  APP_ENV = "production"
  DB_CONNECTION = "mysql"
  DB_HOST = "<DB_HOST>"
  DB_DATABASE= "<DB_DATABASE>"
  MYSQL_ATTR_SSL_CA="/etc/ssl/certs/ca-certificates.crt"
```
Take note that the value for `MYSQL_ATTR_SSL_CA` varies depending on the Docker container used. For the default Docker container used by Fly.io, the above value is the path
2. Next, set up the database username and password through [fly secrets](/docs/flyctl/secrets/):
```cmd
fly secrets set DB_USERNAME=<DB_USERNAME> DB_PASSWORD=<DB_PASSWORD>
```
3. Finally deploy your changes with:
```cmd
fly deploy
```
Laravel and MySQL
For data store, why not start with a relational database classic: MySQL.
You can run your own MySQL Fly App, or set up a PlanetScale MySQL-compatible serverless database.
Laravel and MySQL Fly App
To run MySQL as a Fly App, follow our guide here. Afterwards, you’re good to connect:
Connect to your MySQL Fly App from a Laravel Fly App
Connect to your MySQL Fly App from a local environment
Connect from a Laravel Fly App
Revise the [env] configuration in your Laravel application’s fly.toml file to connect with your MySQL Fly App’s Fly .internal address:
Then, set up your Laravel Fly App’s database username and password through Fly Secrets:
fly secrets set DB_USERNAME=<MYSQL_USER> DB_PASSWORD=<MYSQL_PASSWORD>
Finally deploy your Laravel Fly App changes with:
fly deploy
Connect from a local environment
The MySQL instance you spun up in Fly.io “is closed to the public internet”, and can only be accessed by another application found in your Fly.io organization’s private network. You’ll need a way to tunnel into the network and finally connect to your MySQL instance.
In this guide you’ll tunnel to your MySQL instance through the use of fly proxy
Open your MySQL application’s fly.toml and take note of the following:
Once you’re setup with PlanetScale, connect your Laravel application in Fly.io through the following steps below:
Get Laravel connection information from PlanetScale instance
Connect from Laravel application in Fly.io
Get Laravel connection from PlanetScale instance
Once initialized, your database dashboard should have metrics and options like so:
Click on the Connect button at the top right, this should provide a box of information for connecting with your PlanetScale database.
First though, make sure to add a password, by clicking on the “New Password” button at the upper right corner. This should show you a new password afterwards.
Next, select “Laravel” in the list labeled “Connect with”
Take note of the connection string provided and let’s move on!
Connect from a Laravel Fly App
Update the [env] configuration in Laravel application’s fly.toml with details from the PlanetScale connection string
Take note that the value for MYSQL_ATTR_SSL_CA varies depending on the Docker container used. For the default Docker container used by Fly.io, the above value is the path
Next, set up the database username and password through fly secrets:
fly secrets set DB_USERNAME=<DB_USERNAME> DB_PASSWORD=<DB_PASSWORD>

 Take note of the connection string provided and let’s move on!