---
title: "Run a Meteor App"
layout: framework_docs
objective: Meteor is a full-stack JavaScript framework for building modern web and mobile applications.
order: 3
---
<% app_name = "hello-meteor" %>
<%= partial "partials/intro", locals: { runtime: "Meteor", link: "https://meteor.com" } %>
<div class="callout">
This guide is intended for users of Meteor 3. If you're using Meteor 2 and want to migrate, please see the <a href="https://v3-migration-docs.meteor.com/">Meteor 3.0 migration guide</a>.
</div>
Meteor is a full-stack JavaScript framework for building modern web and mobile applications. You get real-time features for free, built-in accounts, TypeScript support, and a powerful CLI tool for creating and managing your app.
We'll start off by installing Meteor:
```cmd
npx meteor
```
```output
=> Arch: os.osx.arm64
=> Meteor Release: 3.0.0
Downloading |█████████████████████████████████░░░░░░░| 82%
```
## _Generate the Meteor app_
We'll assume you have NodeJS installed already. Meteor 3 requires NodeJS v20 or higher. We'll be using a skeleton web application generated by Meteor. This is a bare-bones app that does not need a MongoDB database.
Let's create the new project by running `meteor create`. We'll choose a "minimal" skeleton, which is a good choice for a new project and to get up and running quickly.
```cmd
meteor create hello-meteor --minimal --release 3.0.0
```
```output
Created a new Meteor app in 'hello-meteor'.

To run your new app:
  cd hello-meteor
  meteor

If you are new to Meteor, try some of the learning resources here:
  https://www.meteor.com/tutorials

When you’re ready to deploy and host your new Meteor application, check out
Cloud:
  https://www.meteor.com/cloud
```
## _Preview your Application_
You can preview your production build locally, simply by executing the command `meteor`.
```cmd
meteor
```
```output
[[[[[ ~/hello-meteor ]]]]]

=> Started proxy.
=> Started HMR server.
=> Started your app.

=> App running at: http://localhost:3000/
```
## _Install flyctl and Login_
We are ready to start working with Fly.io, and that means we need `flyctl`, our CLI app for managing apps on Fly.io. If you've already installed it, carry on. If not, hop over to [our installation guide](/docs/flyctl/install/). Once that's installed you'll want to [log in to Fly.io](/docs/getting-started/sign-up-sign-in/).
## _Deploy the app on Fly.io_
Each Fly App needs a `fly.toml` file to tell the system how we'd like to deploy it.
That file can be automatically generated with `fly launch`. This command will also generate a Dockerfile for deployment.
```cmd
fly launch
```
```output
Scanning source code
Detected a Meteor app
Creating app in ~/Demo/hello-meteor
We're about to launch your Meteor app on Fly.io. Here's what you're getting:

Organization: Demo                       (fly launch defaults to the personal org)
Name:         hello-meteor               (generated)
Region:       Johannesburg, South Africa (this is the fastest region for you)
App Machines: shared-cpu-1x, 1GB RAM     (most apps need about 1GB of RAM)
Postgres:     <none>                     (not requested)
Redis:        <none>                     (not requested)
Tigris:       <none>                     (not requested)

? Do you want to tweak these settings before proceeding? No
Created app 'hello-meteor' in organization 'demo'
Admin URL: https://fly.io/apps/hello-meteor
Hostname: hello-meteor.fly.dev
installing: npm install @flydotio/dockerfile@latest --save-dev

added 33 packages, and audited 143 packages in 4s

32 packages are looking for funding
  run `npm fund` for details

found 0 vulnerabilities
     create  Dockerfile
Wrote config file fly.toml
Validating ~/Demo/hello-meteor/fly.toml
✓ Configuration is valid
==> Building image
Remote builder fly-builder-frosty-night-3947 ready
==> Building image with Docker
...

Watch your deployment at https://fly.io/apps/hello-meteor/monitoring

Provisioning ips for hello-meteor
  Dedicated ipv6: 2a09:8280:1::3c:c2d4:0
  Shared ipv4: 66.241.124.224
  Add a dedicated ipv4 with: fly ips allocate-v4

This deployment will:
 * create 2 "app" machines

No machines in group app, launching a new machine

Creating a second machine to increase service availability
Finished launching new machines
-------
NOTE: The machines for [app] have services with 'auto_stop_machines = true' that will be stopped when idling

-------
Checking DNS configuration for hello-meteor.fly.dev

Visit your newly deployed app at https://hello-meteor.fly.dev/
...
```
## _Inside `fly.toml`_
The `fly.toml` file now contains a default configuration for deploying your app. In the process of creating that file, `flyctl` has also created a Fly.io application slot of the same name, "hello-meteor". If we look at the `fly.toml` configuration file we can see the name in there:
```toml
app = "hello-meteor"
primary_region = "jnb"

[env]
  PORT = "3000"
  ROOT_URL = "https://hello-meteor.fly.dev/"

[http_service]
  internal_port = 3000
  force_https = true
  auto_stop_machines = true
  auto_start_machines = true
  min_machines_running = 0
  processes = ["app"]
...
```
We make sure to set the `ROOT_URL` and `PORT` environment variables. These are important to Meteor. When you eventually add a [custom domain](/docs/networking/custom-domain/) to your app, you'll want to make sure your `ROOT_URL` is set to the domain name.
The `flyctl` command will always refer to this file in the current directory if it exists, specifically for the `app` name/value at the start. That name will be used to identify the application to the Fly.io platform.
The rest of the file contains settings to be applied to the application when it deploys.
## _Viewing the Deployed App_
If you want to find out more about the deployment. The command `fly status` will give you all the essential details.
```cmd
fly status
```
```output
App
  Name     = hello-meteor
  Owner    = personal
  Hostname = hello-meteor.fly.dev
  Image    = hello-meteor:deployment-01J2S3S8A9TDR1D2AYZSYJWTHH

Machines
PROCESS ID              VERSION REGION  STATE   ROLE    CHECKS  LAST UPDATED
app     3287154db00658  1       jnb     started                 2024-07-14T17:26:16Z
app     4d890d17a6d768  1       jnb     stopped                 2024-07-14T17:23:03Z
```
## _Connecting to the App_
The quickest way to browse your newly deployed application is with the `fly apps open` command.
```cmd
fly apps open
```
```output
Opening https://hello-meteor.fly.dev/
```
Your browser will be sent to the displayed URL.
## _Session Affinity (aka 'Sticky Sessions')_
Sticky sessions are a feature of a load balancer that ensures that all requests from a client are routed to the same server. This can be important for Meteor applications depending on the client/server architecture of your app, as it ensures that the client is always connected to the same server, and that any changes made to the server are reflected in the client.
The easiest way to achieve this on Fly.io is to run your app with a maximum of one Machine per region. The [Fly Proxy](/docs/reference/fly-proxy/) will take care of load balancing clients — sending requests to the Machine closest to them.
A better option, is to use [dynamic request routing](/docs/networking/dynamic-request-routing) with the `fly-replay` response header. You'll need to implement some additional code (roughly 18 lines) that uses the `meteor/webapp` package and plugs into your app's server-side entry point. This example uses middleware to create a client-side cooking containing the Machine ID to "pin" requests to. The process is explained in greater detail [here](/docs/blueprints/sticky-sessions/).
First, install `cookie-parser`:
```cmd
npm install cookie-parser
```
Now create a new file called `sticky.js` wherever you keep your server server-side code:
```js
import { WebApp } from 'meteor/webapp';
import cookieParser from "cookie-parser";

WebApp.connectHandlers.use(cookieParser());

WebApp.connectHandlers.use('/',(request, response, next) => {
  if (!process.env.FLY_MACHINE_ID) {
    next();
  } else if (!request.cookies["fly-machine-id"]) {
    const maxAge = 24 * 60 * 60 * 1000; // 24 hours
    response.cookie("fly-machine-id", process.env.FLY_MACHINE_ID, { maxAge });
    next();
  } else if (request.cookies["fly-machine-id"] !== process.env.FLY_MACHINE_ID) {
    response.set('Fly-Replay', `instance=${request.cookies["fly-machine-id"]}`)
    response.status(307)
    response.send()
  } else {
    next();
  }
});
```
Make sure to import that module when initializing your Meteor server, then you should see clients routed to the same Fly Machine for the duration of the session.
## _Bonus Points_
Let's take a look at a slightly more advanced app that uses a MongoDB database for storing account details and user data — but also for real-time UI updates.
First, we'll need a MongoDB database to connect to. If you have one, great! If not, it's easy to deploy a development MongoDB database on Fly.io. If you're deploying a production app, we recommend that you look at a managed service like [MongoDB Atlas](https://www.mongodb.com/atlas).
Save the below as your `mongo.fly.toml`, then run `fly launch -c mongo.fly.toml --no-deploy` to create the database app without deploying it.
```toml
app = "hello-mongo"
primary_region = "jnb"

[build]
  image = 'mongodb/mongodb-community-server'

[experimental]
  cmd = ["mongod", "--bind_ip_all", "--ipv6"]

[[services]]
  internal_port = 27017
  protocol = "tcp"

  [[services.ports]]
    handlers = ["tls"]
    port = 27017
    force_https = false

[[vm]]
  memory = '1gb'
  cpu_kind = 'shared'
  cpus = 1

[[mounts]]
  source = "mongo_data"
  destination = "/data/db"
```
Now, set the default username and password for the database:
```cmd
fly secrets set MONGODB_INITDB_ROOT_USERNAME=admin MONGODB_INITDB_ROOT_PASSWORD=password
```
And finally, deploy it:
```cmd
fly deploy --no-public-ips
```
Ok, now we can deploy our Meteor app. We'll use the Simple Tasks example app:
```cmd
fly launch --from https://github.com/fredmaiaarantes/simpletasks --no-deploy
```
This simultaneously clones the GitHub repo and launches the new app on Fly.io
Set the `MONGO_URL` secret so Meteor knows where to connect to:
```cmd
fly secrets set MONGO_URL=mongodb://admin:password@hello-mongo.internal:27017/meteor
```
And deploy the app:
```cmd
fly deploy
```
And finally, open the app. It'll take a second longer on the first run while database migrations are performed:
```cmd
fly apps open
```
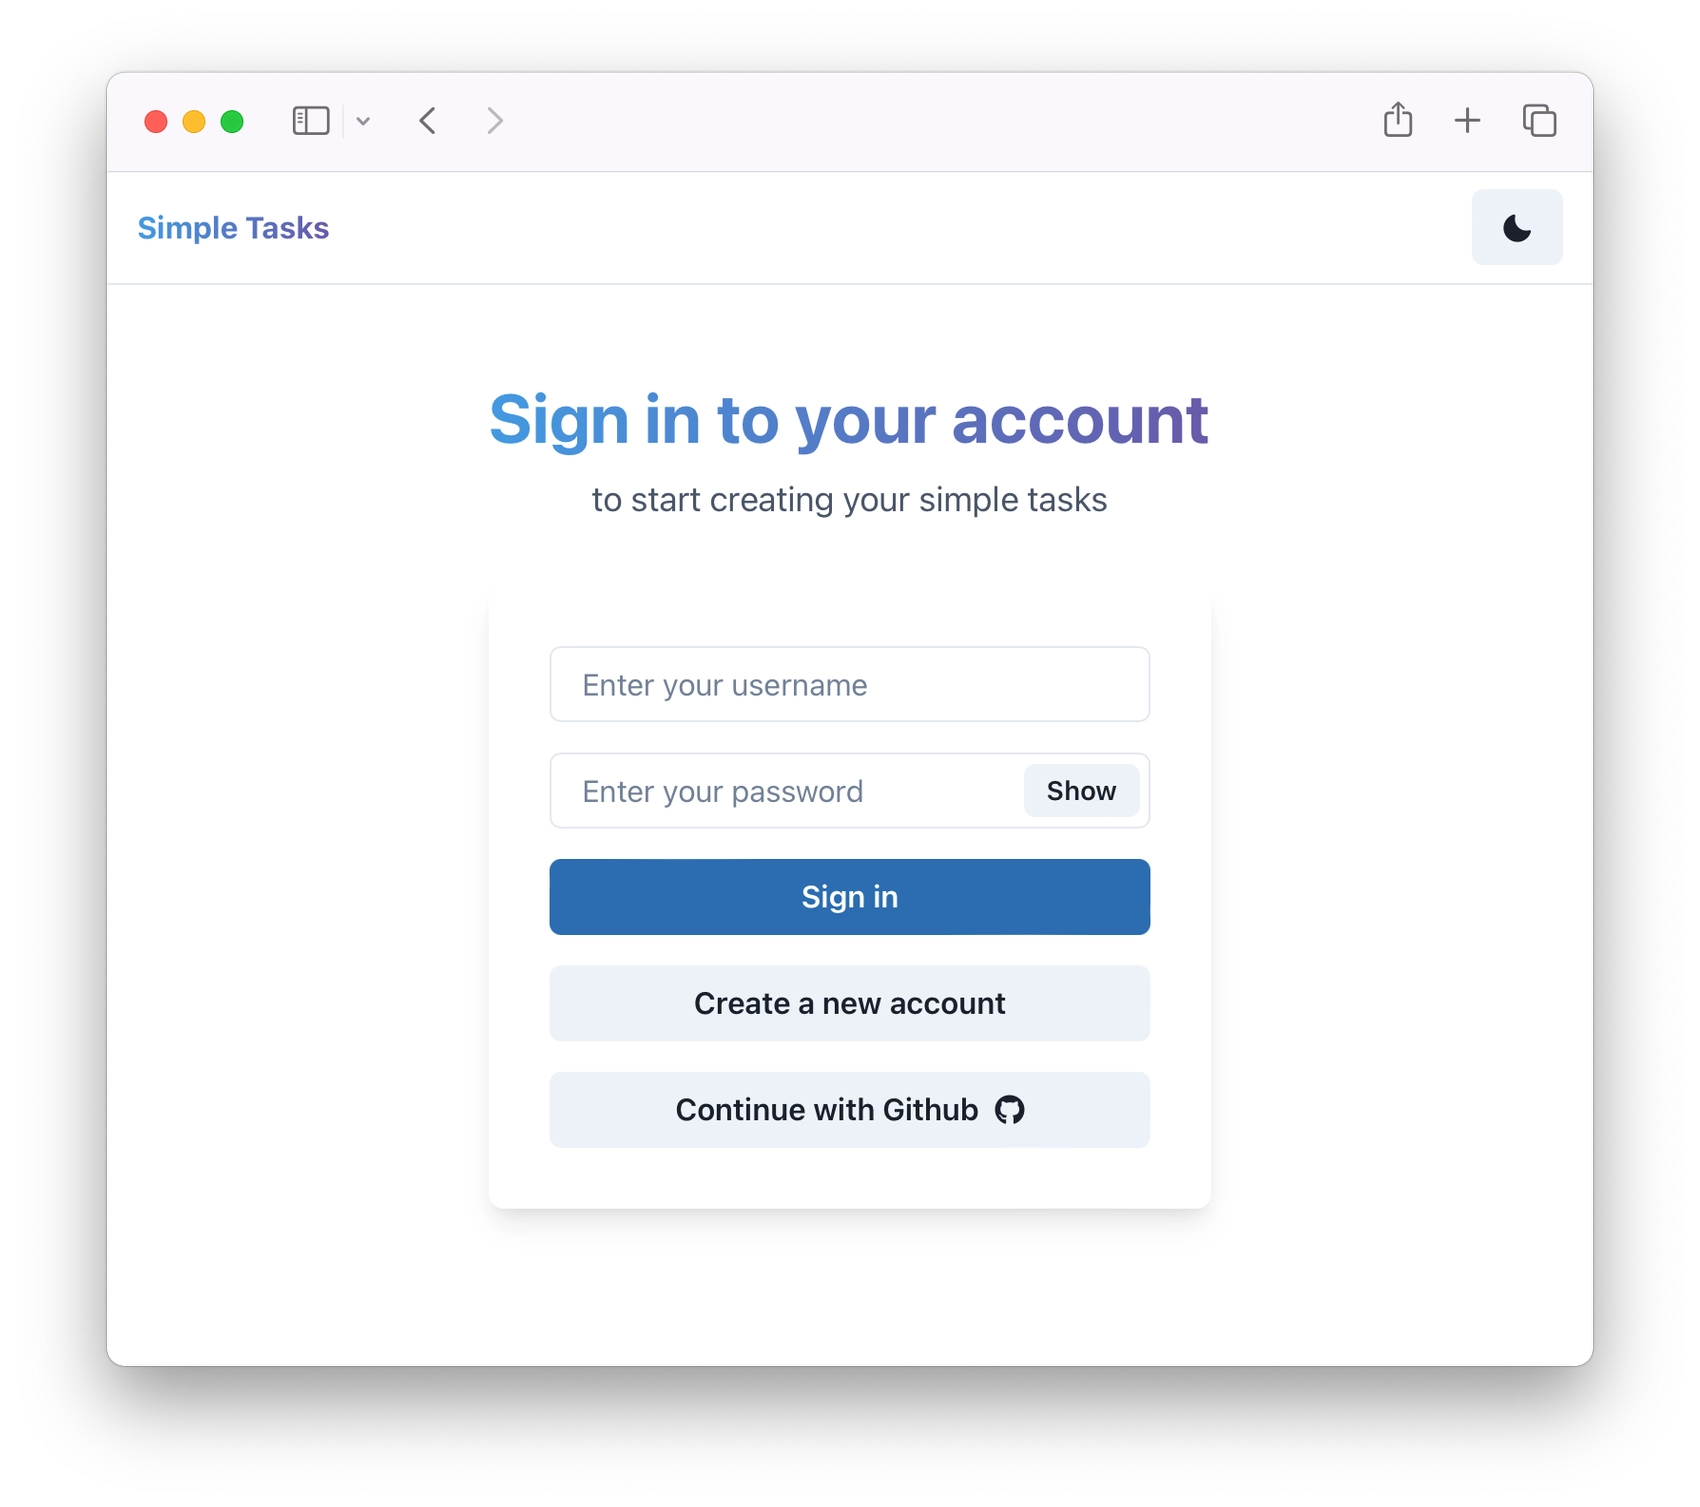
That's it! You should see the app running:
<img src="/static/images/simple-tasks.webp" alt="A screenshot of the Simple Tasks Meteor app login page.">
## _Arrived at Destination_
You have successfully built, deployed, and connected to your first Meteor application on Fly.io.
Run a Meteor App
Getting an application running on Fly.io is essentially working out how to package it as a deployable image.
Once packaged it can be deployed to the Fly.io platform.
In this guide we’ll learn how to deploy a Meteor
application
on Fly.io.
This guide is intended for users of Meteor 3. If you’re using Meteor 2 and want to migrate, please see the Meteor 3.0 migration guide.
Meteor is a full-stack JavaScript framework for building modern web and mobile applications. You get real-time features for free, built-in accounts, TypeScript support, and a powerful CLI tool for creating and managing your app.
We’ll assume you have NodeJS installed already. Meteor 3 requires NodeJS v20 or higher. We’ll be using a skeleton web application generated by Meteor. This is a bare-bones app that does not need a MongoDB database.
Let’s create the new project by running meteor create. We’ll choose a “minimal” skeleton, which is a good choice for a new project and to get up and running quickly.
Created a new Meteor app in 'hello-meteor'.
To run your new app:
cd hello-meteor
meteor
If you are new to Meteor, try some of the learning resources here:
https://www.meteor.com/tutorials
When you’re ready to deploy and host your new Meteor application, check out
Cloud:
https://www.meteor.com/cloud
Preview your Application
You can preview your production build locally, simply by executing the command meteor.
meteor
[[[[[ ~/hello-meteor ]]]]]
=> Started proxy.
=> Started HMR server.
=> Started your app.
=> App running at: http://localhost:3000/
Install flyctl and Login
We are ready to start working with Fly.io, and that means we need flyctl, our CLI app for managing apps on Fly.io. If you’ve already installed it, carry on. If not, hop over to our installation guide. Once that’s installed you’ll want to log in to Fly.io.
Deploy the app on Fly.io
Each Fly App needs a fly.toml file to tell the system how we’d like to deploy it.
That file can be automatically generated with fly launch. This command will also generate a Dockerfile for deployment.
fly launch
Scanning source code
Detected a Meteor app
Creating app in ~/Demo/hello-meteor
We're about to launch your Meteor app on Fly.io. Here's what you're getting:
Organization: Demo (fly launch defaults to the personal org)
Name: hello-meteor (generated)
Region: Johannesburg, South Africa (this is the fastest region for you)
App Machines: shared-cpu-1x, 1GB RAM (most apps need about 1GB of RAM)
Postgres: <none> (not requested)
Redis: <none> (not requested)
Tigris: <none> (not requested)
? Do you want to tweak these settings before proceeding? No
Created app 'hello-meteor' in organization 'demo'
Admin URL: https://fly.io/apps/hello-meteor
Hostname: hello-meteor.fly.dev
installing: npm install @flydotio/dockerfile@latest --save-dev
added 33 packages, and audited 143 packages in 4s
32 packages are looking for funding
run `npm fund` for details
found 0 vulnerabilities
create Dockerfile
Wrote config file fly.toml
Validating ~/Demo/hello-meteor/fly.toml
✓ Configuration is valid
==> Building image
Remote builder fly-builder-frosty-night-3947 ready
==> Building image with Docker
...
Watch your deployment at https://fly.io/apps/hello-meteor/monitoring
Provisioning ips for hello-meteor
Dedicated ipv6: 2a09:8280:1::3c:c2d4:0
Shared ipv4: 66.241.124.224
Add a dedicated ipv4 with: fly ips allocate-v4
This deployment will:
* create 2 "app" machines
No machines in group app, launching a new machine
Creating a second machine to increase service availability
Finished launching new machines
-------
NOTE: The machines for [app] have services with 'auto_stop_machines = true' that will be stopped when idling
-------
Checking DNS configuration for hello-meteor.fly.dev
Visit your newly deployed app at https://hello-meteor.fly.dev/
...
Inside fly.toml
The fly.toml file now contains a default configuration for deploying your app. In the process of creating that file, flyctl has also created a Fly.io application slot of the same name, “hello-meteor”. If we look at the fly.toml configuration file we can see the name in there:
We make sure to set the ROOT_URL and PORT environment variables. These are important to Meteor. When you eventually add a custom domain to your app, you’ll want to make sure your ROOT_URL is set to the domain name.
The flyctl command will always refer to this file in the current directory if it exists, specifically for the app name/value at the start. That name will be used to identify the application to the Fly.io platform.
The rest of the file contains settings to be applied to the application when it deploys.
Viewing the Deployed App
If you want to find out more about the deployment. The command fly status will give you all the essential details.
fly status
App
Name = hello-meteor
Owner = personal
Hostname = hello-meteor.fly.dev
Image = hello-meteor:deployment-01J2S3S8A9TDR1D2AYZSYJWTHH
Machines
PROCESS ID VERSION REGION STATE ROLE CHECKS LAST UPDATED
app 3287154db00658 1 jnb started 2024-07-14T17:26:16Z
app 4d890d17a6d768 1 jnb stopped 2024-07-14T17:23:03Z
Connecting to the App
The quickest way to browse your newly deployed application is with the fly apps open command.
fly apps open
Opening https://hello-meteor.fly.dev/
Your browser will be sent to the displayed URL.
Session Affinity (aka ‘Sticky Sessions’)
Sticky sessions are a feature of a load balancer that ensures that all requests from a client are routed to the same server. This can be important for Meteor applications depending on the client/server architecture of your app, as it ensures that the client is always connected to the same server, and that any changes made to the server are reflected in the client.
The easiest way to achieve this on Fly.io is to run your app with a maximum of one Machine per region. The Fly Proxy will take care of load balancing clients — sending requests to the Machine closest to them.
A better option, is to use dynamic request routing with the fly-replay response header. You’ll need to implement some additional code (roughly 18 lines) that uses the meteor/webapp package and plugs into your app’s server-side entry point. This example uses middleware to create a client-side cooking containing the Machine ID to “pin” requests to. The process is explained in greater detail here.
First, install cookie-parser:
npm install cookie-parser
Now create a new file called sticky.js wherever you keep your server server-side code:
Make sure to import that module when initializing your Meteor server, then you should see clients routed to the same Fly Machine for the duration of the session.
Bonus Points
Let’s take a look at a slightly more advanced app that uses a MongoDB database for storing account details and user data — but also for real-time UI updates.
First, we’ll need a MongoDB database to connect to. If you have one, great! If not, it’s easy to deploy a development MongoDB database on Fly.io. If you’re deploying a production app, we recommend that you look at a managed service like MongoDB Atlas.
Save the below as your mongo.fly.toml, then run fly launch -c mongo.fly.toml --no-deploy to create the database app without deploying it.