

Fly.io can run Laravel apps globally. It’s a great place to host an API - perhaps for your Native apps! Deploy your Laravel API on Fly.io, you’ll be up and running in minutes!
NativePHP is out (in alpha currently), and I’ve had a great time building a desktop app in Laravel.
Along the way I’ve discovered a few not-yet-documented goodies that I’m excited to share.
Writing Laravel and seeing it translated into “native” desktop things (like a menu) feels powerful in a way that’s hard to describe.
What I like about desktop apps is that a lot of them need an API to be useful. Running an API (globally!) is what Fly.io is best at! So it seemed appropriate to check out NativePHP and see what I could come up with.
In this case, I’m going to talk to Fly.io’s API since it’s an example of a global API.
We’re going to make a menu-only application that lists out your Fly.io applications and their status.
To see the final version of the code, head here.
Setting Up
As per usual, I created a new Laravel application to kick this off. Then I followed the installation instructions for NativePHP:
composer create-project --prefer-dist laravel/laravel native-fly
cd native-fly

composer require nativephp/electron

# I had to do this as NVM wasn't
# yet initialized for me
nvm use 16

php artisan native:install
php artisan native:serve
NativePHP is still in Alpha. I had an error about a missing native:config Artisan command each time I started the app. If you see that, it’s fine, you can ignore it.
We have a barebones app! It opens Laravel’s default route (/, aka the welcome route), and renders the HTML/CSS/JS for us in an application window (that window should pop up for you automatically).
Keep in mind that user interactions will be powered by Javascript. The way to think about this is that PHP is still the application code (“server”), but the part the user interacts with is still html/css/javascript. Servery things - like making API calls or talking to a local SQLite database - is happening in PHP.
NativePHP is actually running a web server, so you can act as if the standard server-client thing is happening. Pretend the application windows (and menus) are a browser.
A Menu App
The main bits of configuration and setup of your application occur when your application first boots up. As a result, a lot of our application’s configuration will happen in the NativeAppServiceProvider class.
In our case, we want a menu app, so we’ll get rid of the call to open an application window by default, and then create a Menu:
# File app/Providers/NativeAppServiceProvider.php

public function boot(): void
{
    // Window::open();
    MenuBar::create();
}
The default NativePHP icon is used in the menu bar! Let’s update it to something more Fly-ish.
We’ll grab the Fly.io brand mark, resize it to 22w (default size) and 44w (for Retina displays), and save them at storage/app/flyTemplate.png and storage/app/flyTemplate@2x.png.
Then we can update our NativeAppServiceProvider again to set the icon():
# File app/Providers/NativeAppServiceProvider.php

public function boot(): void
{
    // Window::open();
    MenuBar::create()
        ->icon(storage_path('app/flyTemplate.png'));
}
With the usage of ...Template.png, MacOS will grab the @2x version on Retina screens automatically.
![]()
It looks…good enough for our use case 😅. MacOS does some things to convert it to monochrome, and adjusts for light vs dark mode.
Customizing the Menu
By default, the app displays the default view (Laravel’s default page on our fresh install). The menu does the same! In fact, if you click a link, it behaves like a browser - going to the next web page within the menu. Sorta neat, but not what we want.
I’m really enjoying that this is basically a little browser as a menu 😂
— Chris Fidao (@fideloper) August 21, 2023
You can click links! I ended up with Laravel’s docs in my menu. pic.twitter.com/kKpE9ijeOT
Instead, let’s make our own layout and get a view going. We’ll use that (and a new route) for our menu.
I followed the Laravel guide on Tailwind’s site to get basic Tailwind in place. Then I created a layout file, and a view named apps, which we’ll work out of.
<!-- File resources/views/components/layout.blade.php -->
<!doctype html>
<html>
<head>
    <meta charset="utf-8">
    <meta name="viewport" content="width=device-width, initial-scale=1.0">
    @vite(['resources/css/app.css', 'resources/js/app.js'])
</head>
<!--
    note the use of bg-transparent
    we need that for later...
-->
<body class="font-sans antialiased bg-transparent">
{{ $slot }}
</body>
</html>
And then our view file:
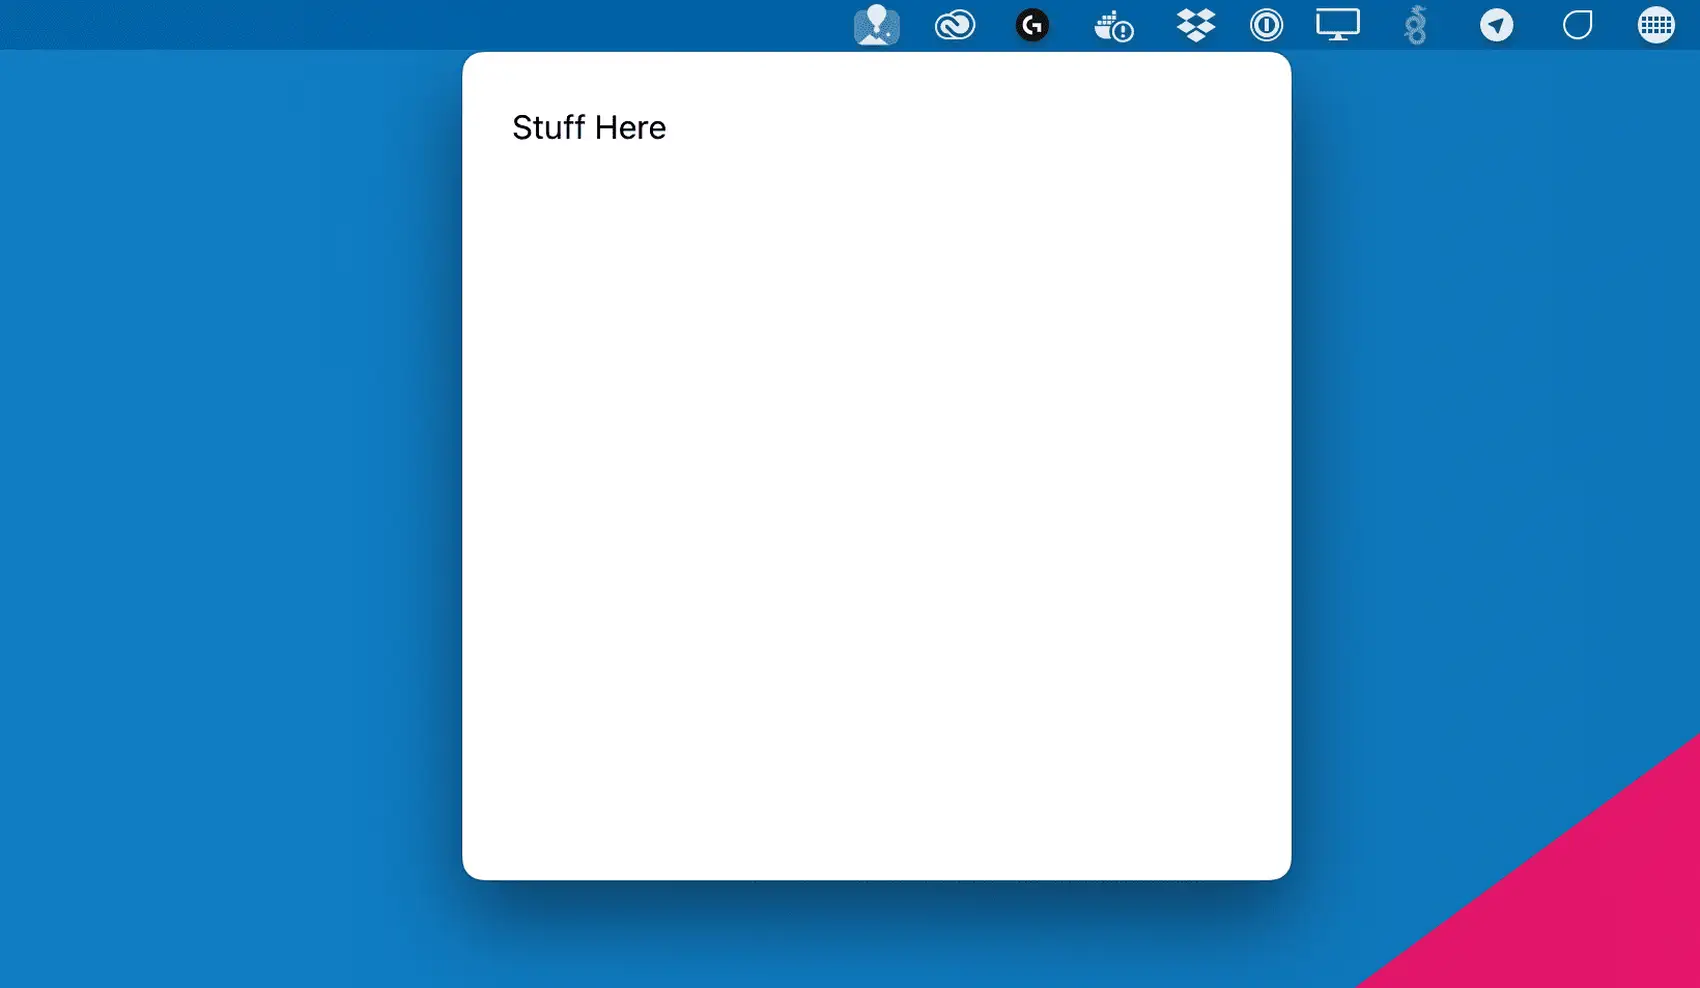
<!-- File resources/views/apps.blade.php -->
<x-layout>
    <div class="p-6">
        Stuff Here
    </div>
</x-layout>
Then we need to create a route to serve the menu stuff up:
# File routes/web.php
Route::get('/apps', \App\Http\Controllers\AppsController::class)
    ->name('apps');
That’s served from an invokable controller where we just just return our apps view:
# File app/Http/Controllers/AppsController.php
public function __invoke(Request $request)
{
    return view('apps');
}
Finally, update the provider NativeAppServiceProvider to tell the menu to use our new route to render the menu:
# File app/Providers/NativeAppServiceProvider.php
public function boot(): void
{
    // Window::open();
    MenuBar::create()
        ->icon(storage_path('app/flyTemplate.png'))
        ->route('apps');
}
Pretty basic, but we’re getting somewhere!
Wiring the View File
We’re going to style a bunch of stuff.
First, the background of our menu is white. Gross! Let’s copy the default MacOS style, which is an opaque style that blurs the stuff behind it. The lingo for this is “vibrancy”, and there’s a NativePHP helper for it.
Remember how I pointed out the <body> tag’s use of bg-transparent? That makes this work. We can use the blendBackgroundBehindWindow() method to our menu and make it look “native”:
# File app/Providers/NativeAppServiceProvider.php
public function boot(): void
{
    // Window::open();
    MenuBar::create()
        ->icon(storage_path('app/flyTemplate.png'))
        ->route('apps')
        ->blendBackgroundBehindWindow();
}
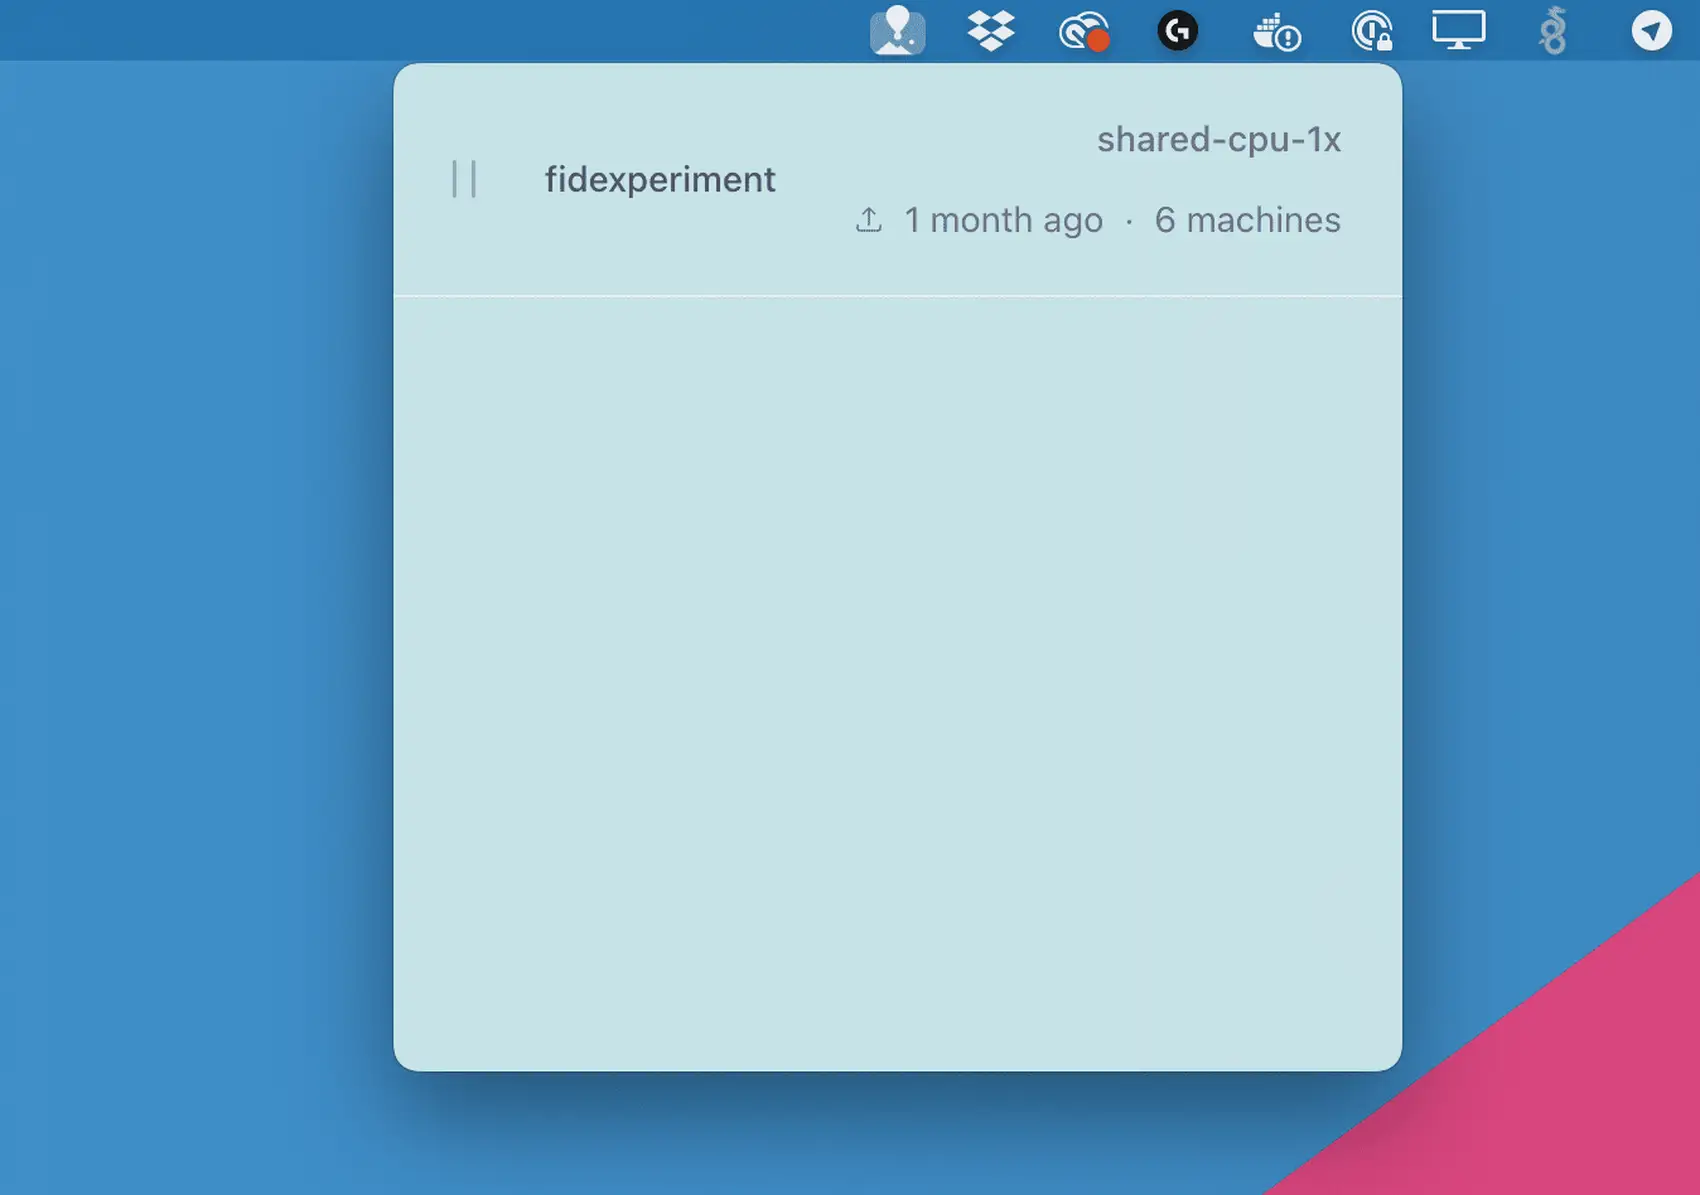
And our menu becomes opaque. Or whatever MacOS marketing would call it - “vibrant” in their case, although I would have gone with “delicious”
Next, we’re going to make a list of Apps running in our Fly.io account. I stole styles from the Fly.io console you see at https://fly.io/dashboard. Here’s a selection of HTML:
<!-- File resources/views/components/apps.blade.php -->
<x-layout>
    <div>
        <ul class="...">
            <li class="...">
                <!-- fancy HTML here to display the things -->
                <!-- see https://github.com/fideloper/nativephp-fly -->
            </li>
        </ul>
    </div>
</x-layout>
You can get a glimpse of the full <li> section here. It’s the “final” version we end up with by the end of the article.
Let’s wire up the actual Fly.io API data to that and see what it looks like!
Fly API Call
When we first render our menu, we want to call the Fly API to get information about our running apps, within a given org.
This requires some boilerplate!
- We need some config for Fly.io’s API token and organization.
- We make API calls to Fly’s GraphQL API so we can get specific information we want (similar to what the Fly Dashboard does behind the scenes)
- We list the apps and wire up our view!
Config
In a real-world desktop app, you’d want this to be something a user can set in a setup page when they first open the app.
In my case, I created a config/fly.php file and threw the needed config into Laravel’s .env file.
# file config/fly.php
<?php

return [
  'token' => env('FLY_API_TOKEN'),
  'org' => env('FLY_ORG_NAME', 'personal'),
];
And we set the env vars:
# File .env
FLY_API_TOKEN=SOME_TOKEN_HERE
FLY_ORG_NAME=personal
API Calls
I created a class that makes API calls to Fly.io’s Graphql api. This is used by Fly’s tooling (e.g. flyctl) but it’s publicly available for you to play with.
This class is boring, and I’m not pasting it here. But it might be interesting to see example GraphQL queries you can make! Check it out here.
Listing Apps
Finally, we can wire up our view file to list the results of our API calls
# file app/Http/Controllers/AppsController.php
public function __invoke(Request $request)
{
    return view('apps', [
        'apps' => (new Fly)->getApps(),
    ]);
}
If you try that, it should (hopefully) work!
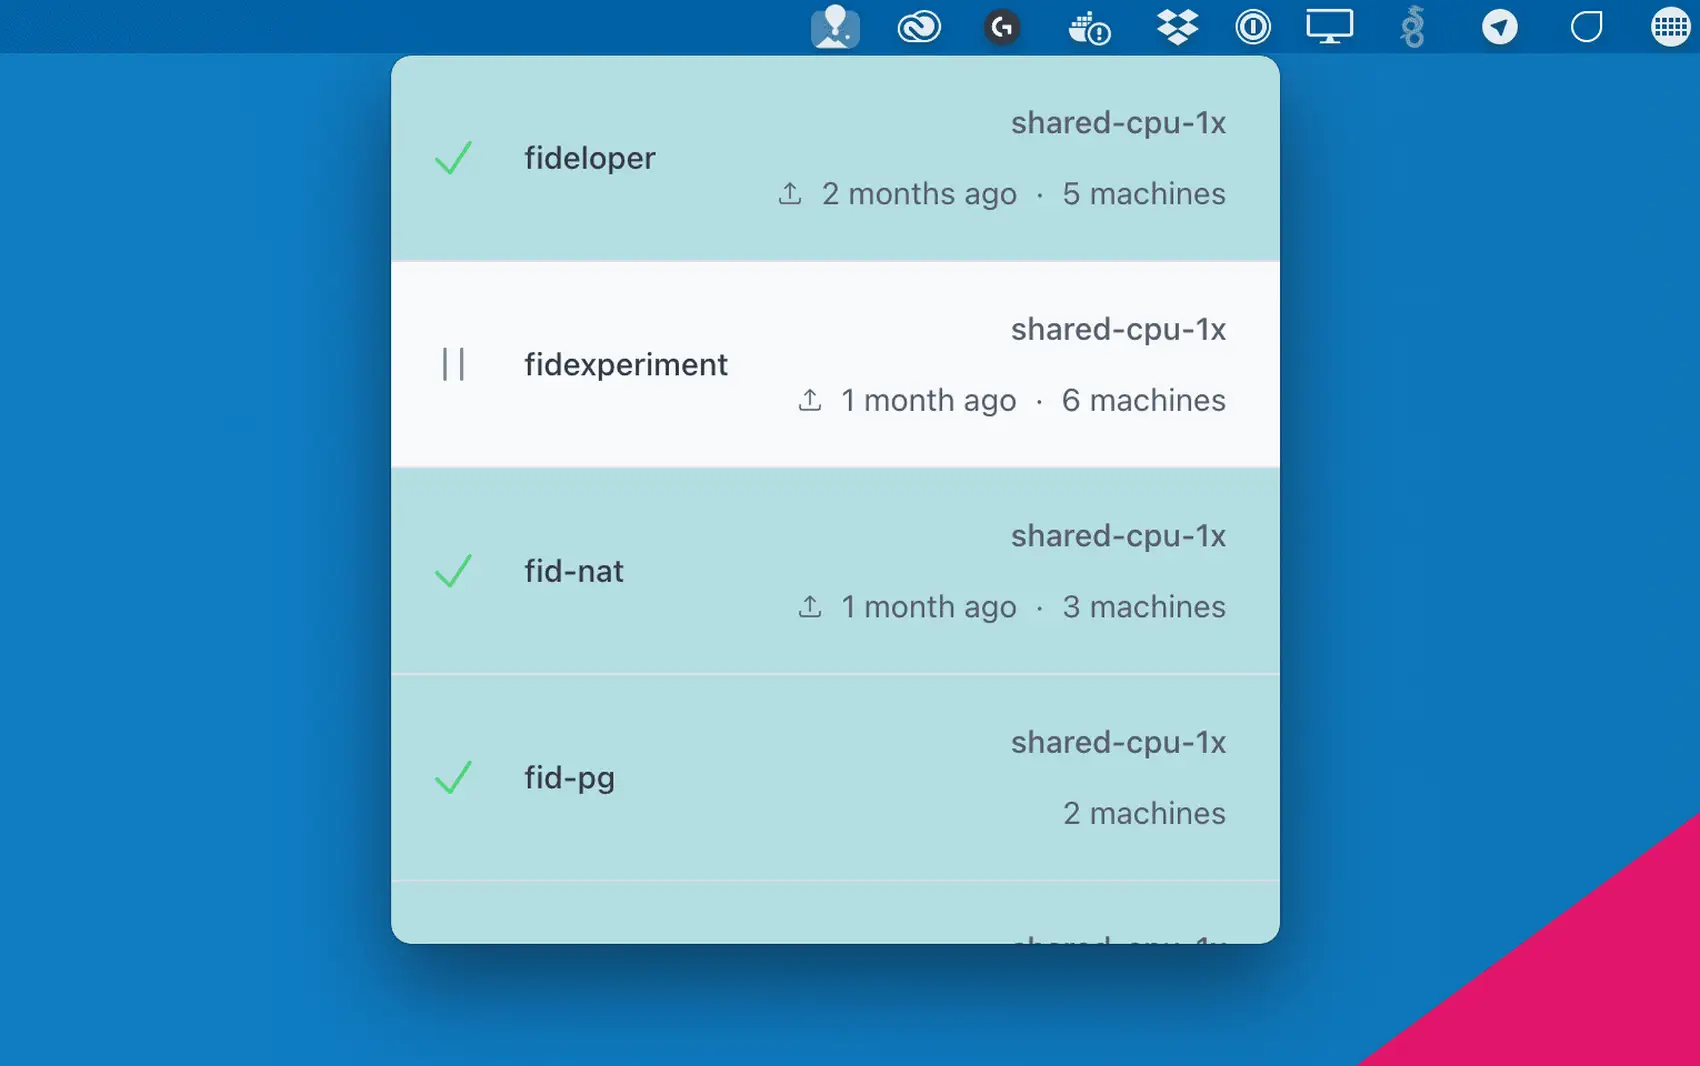
Pretty neat! We did a simple app!
Linking to Your Browser
We probably want this lists of apps to link to the Fly.io dashboard. However, clicked linked in the app follow those links as if the menu itself is a browser! So, we need a way to interact with the system and open a site in the system default browser.
Mac and other systems (presumably Windows has an equivalent) have an open command that can open files, URL’s, and whatever else you throw at it. Running open https://google.com, for example, will open that site in your default browser.
We can basically shell out to that command from our app.
To do that, we can call Shell::openExternal($url) (see here).
This requires that we run some PHP, but our interactions occur in our “browser”, so we need some Javascript!
I opted to use our good friend Livewire.
composer require livewire/livewire "^3.0@beta"

php artisan make:livewire Apps
Now we have files app/Livewire/Apps.php and resources/views/livewire/apps.blade.php.
We can leave our old route and controller. The new resources/views/apps.blade.php is just:
<x-layout>
    <livewire:apps />
</x-layout>
Our old controller app/Http/Controller/AppController.php no longer calls the Fly API, instead it just returns the above view.
The new Livewire component does all the work:
namespace App\Livewire;

use App\Fly;
use Livewire\Component;
use Native\Laravel\Facades\Shell;

class Apps extends Component
{
    public $apps;

    public function mount()
    {
        $this->apps = (new Fly)->getApps();
    }

    public function openApp($app)
    {
        Shell::openExternal("https://fly.io/apps/".$app);
    }

    public function render()
    {
        return view('livewire.apps');
    }
}
On mount, it makes the API call to Fly.io.
We also have a new openApp() method, which calls NativePHP’s Shell facade. This, in turn, runs the open command on the URL we pass it, which instructs our Mac to open the site in our default browser.
We can then update our view to make each item a link. When we click that link, we’ll call this Livewire method openApp(). Here’s file resources/views/livewire/apps.blade.php:
<div>
    <ul class="...">
        @foreach($apps as $app)
            <li
                class="..."
                wire:key="{{ $app['name'] }}"
            >
                <a
                    wire:click.prevent="openApp('{{ $app['name'] }}')"
                    class="..."
                >
                    <!-- all the rest of the fancy HTML here -->
                    <!-- see https://github.com/fideloper/nativephp-fly -->
                </a>
            </li>
        @endforeach
    </ul>
</div>
So, everything looks the same, but now we can click on our apps and see the app in Fly.io’s dashboard in our (real) browser!
Fly.io ❤️ Laravel
Fly your servers close to your users—and marvel at the speed of close proximity. Deploy globally on Fly in minutes!
Deploy your Laravel app! →
UX Improvements
We have a bit of UX that’s still gross:
- We don’t make the API calls until the menu is first open, which causes a delay
- When we re-open the menu later, it doesn’t update itself
There are a bunch of possible solutions for this, with some trade-off between graceful UX and the number of API calls, but what I opted for is:
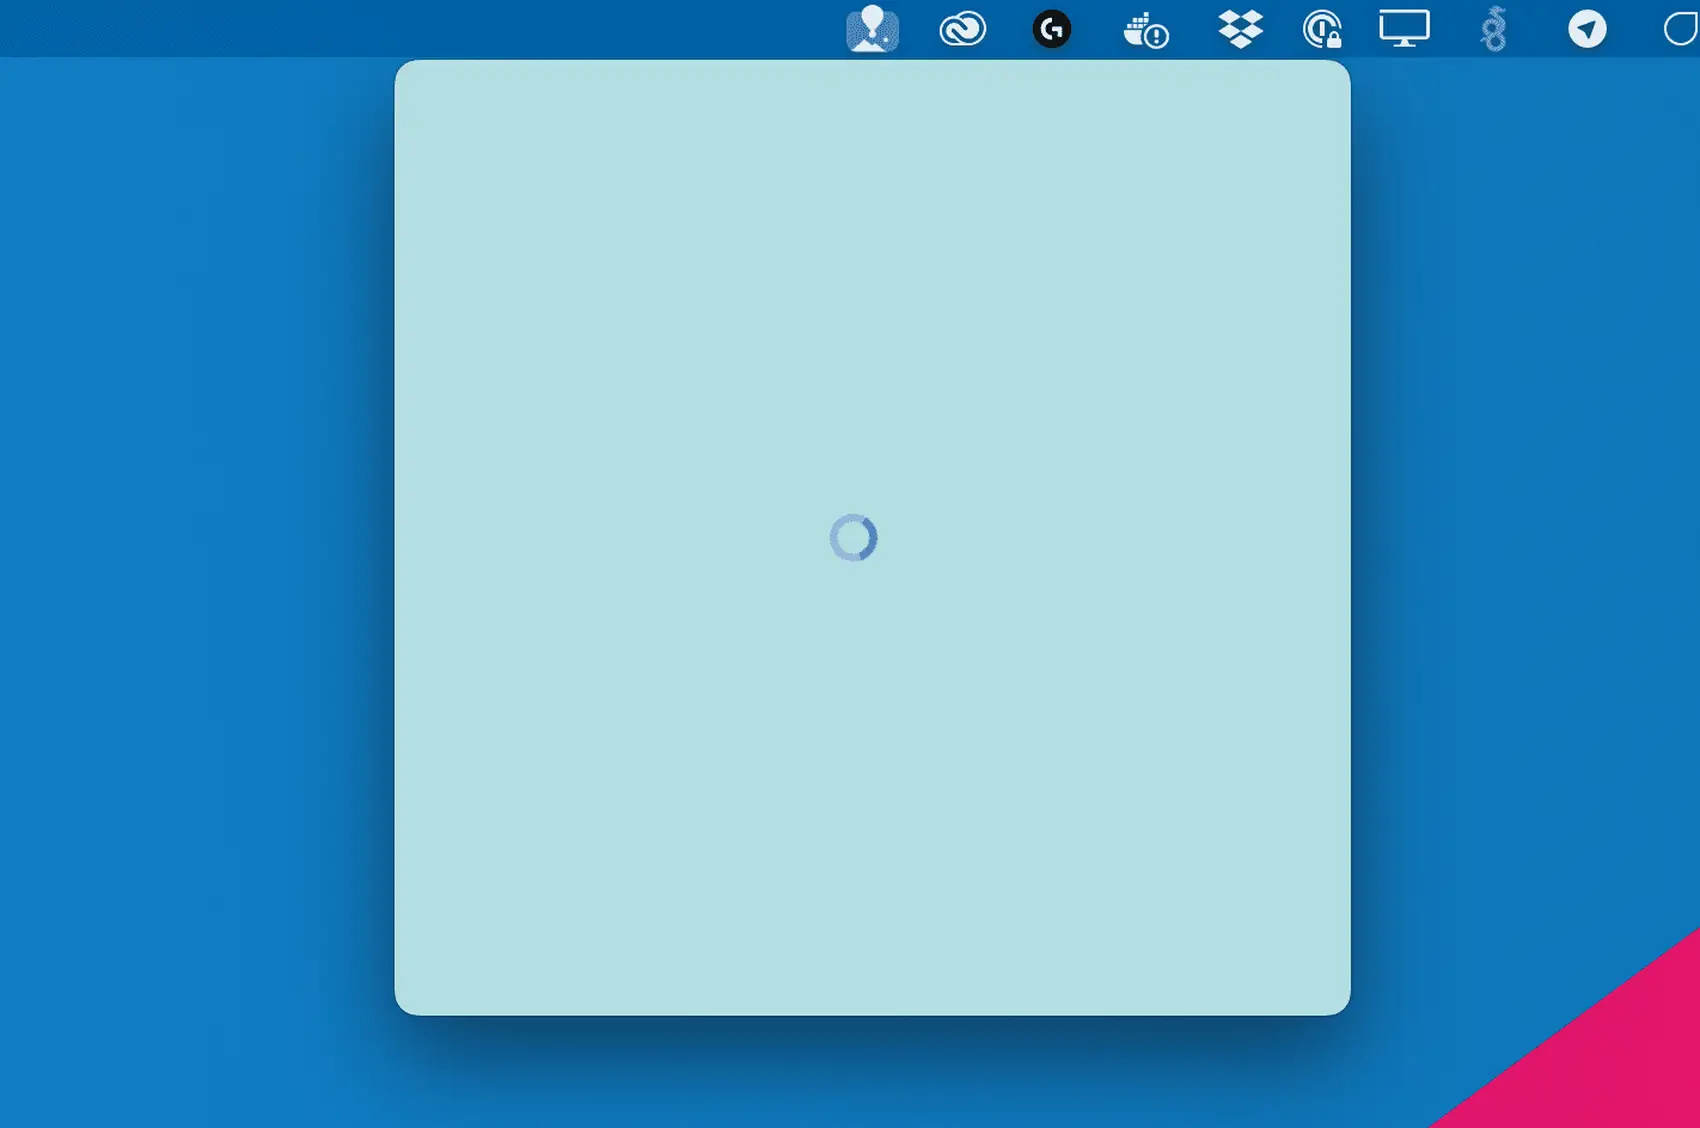
- Show a loading animation when the menu is first open, and grab the data then
- Make periodically updating the list your problem to figure out 😘
Is it awkward to show a loading animation on a desktop app? Sorta!
One other idea is to load the data when the app first spins up (in a service provider) and “cache” it for later. I’d use the database cache to keep everything in the local SQLite database that NativePHP sets up for you. But I’m not doing all the work here - we’re just learning NativePHP, not solving easy-but-tedious programming challenges.
So, we already have Livewire. Let’s make the API call after we open the menu, and add a loading animation while it gets the data.
Our updated component:
<?php

namespace App\Livewire;

use App\Fly;
use Livewire\Component;
use Native\Laravel\Facades\Shell;

class Apps extends Component
{
    public $apps;

    public function loadApps()
    {
        $this->apps = (new Fly)->getApps();
    }

    public function openApp($app)
    {
        Shell::openExternal("https://fly.io/apps/".$app);
    }

    public function render()
    {
        return view('livewire.apps');
    }
}
We no longer make the API call on mount() but instead on a method call loadApps().
We can update the view to call the loadApps() method on “init” (after it’s mounted). This way we can show the loading animation while it’s making the API call:
# File resources/views/livewire/app.blade.php
# Full thing at https://github.com/fideloper/nativephp-fly
<div wire:init="loadApps">
    @if(! is_array($apps))
        <div class="...">
            <svg class="animate-spin ...">
                <!-- snip -->
            </svg>
        </div>
    @else
        <ul class="...">
            @foreach($apps as $app)
            <!-- do the needful -->
            @endforeach
        </ul>
    @endif
</div>
Note the addition of wire:init="loadApps", and we add a conditional to optionally show a loading animation.
We now have a “complete” menu app! We saw how to use NativePHP to quickly make a Menu App, and got a feel for how Laravel translates into a Desktop application.