
LiveView hooks provide a powerful way to seamlessly integrate JavaScript libraries into LiveView applications. In this post, we’ll integrate SortableJS to build a list component with draggable items. Fly.io is a great place to run your Phoenix LiveView applications! Check out how to get started!
In this post, we’ll create a List component with draggable and droppable elements functionality. We’ll use some components from core_components.ex to design the List component, and then add the necessary logic to implement its behavior. The end result will be a List component that looks something like this:
For building it:
- We’ll define the skeleton of a List component using some of the new components defined in
core_components.ex - We’ll add Sortable JS to our LiveView app, and we’ll create a Hook to interoperate with the library from our component.
- We’ll add Tailwind variants to improve the appearance of list items when they are being dragged
Let’s go for it!
Defining a live_component
We begin by defining a :live_component called ListComponent, along with its two main callbacks, render/1 and update/2:
defmodule ComponentsExamplesWeb.ListComponent do
  use ComponentsExamplesWeb, :live_component

  def render(assigns) do
    ~H"""
    <div class="bg-gray-100 py-4 rounded-lg">
      <div class="space-y-5 mx-auto max-w-7xl px-4 space-y-4">

      </div>
    </div>
    """
  end

  def update(assigns, socket) do
    {:ok, assign(socket, assigns)}
  end
end
Next, we add some elements to our component. As we saw above, the component has three main sections: 1) a header with the list title and an input for adding new elements, 2) the list of draggable elements, and 3) a button for clearing the list.
Let’s add the component header, which contains a text input to add new elements to the list:
def render(assigns) do
  ~H"""
  <div class="bg-gray-100 py-4 rounded-lg">
    <div class="space-y-5 mx-auto max-w-7xl px-4 space-y-4">
+      <.header>
+        <%= @list_name %>
+        <.simple_form
+          for={@form}
+          phx-change="validate"
+          phx-submit="save"
+          phx-target={@myself}
+        >
+          <.input field={@form[:name]} type="text" />
+          <:actions>
+            <.button class="align-middle ml-2">
+              <.icon name="hero-plus" />
+            </.button>
+          </:actions>
+        </.simple_form>
+     </.header>
    </div>
  </div>
  """
end
As you may have noticed, we used some function components that we haven’t defined. This is because these components are defined in the core_components.ex file that is generated when you create a new project with phoenix 1.7.x
Now the part we’re interested in today: the items list!
def render(assigns) do
  ~H"""
  <div class="bg-gray-100 py-4 rounded-lg">
    <div class="space-y-5 mx-auto max-w-7xl px-4 space-y-4">
      <.header>
        ...
      </.header>
+      <div id={"#{@id}-items"}>
+        <div
+          :for={item <- @list}
+          id={"#{@id}-#{item.id}"}
+          class="..."
+        >
+          <div class="flex">
+            <button type="button" class="w-10">
+              <.icon
+                name="hero-check-circle"
+                class={[
+                  "w-7 h-7",
+                  if(item.status == :completed, do: "bg-green-600", else: "bg-gray-300")
+                 ]}
+              />
+            </button>
+            <div class="flex-auto block text-sm leading-6 text-zinc-900">
+              <%= item.name %>
+            </div>
+            <button type="button" class="w-10 -mt-1 flex-none">
+             <.icon name="hero-x-mark" />
+           </button>
+         </div>
+       </div>
      </div>
    </div>
  </div>
  """
end
Just below the .header, we define a container for the list items. The first child of this container includes the attribute :for={item <- @list}, to iterate over the items in the list. For each item in the list some elements are rendered: an icon, the name of the item, and a button for removing the item from the list.
Uff, a lot of new elements in a few lines, huh. Now, how do we drag and drop the list items? Let’s see it!
Adding SortableJS to our LiveView app
There is an existing JavaScript library called SortableJS that provides drag-and-drop functionality for elements inside an HTML tag. Let’s add SortableJS to our LiveView application!
Here’s how you can add it:
- Go to the SortableJS source repository and locate the
sortable.jsfile. - Copy the
sortable.jsfile to the/assets/vendor/directory in your Phoenix project.
Next, we need to import the Sortable library. You can do this by adding the following line at the top of the app.js file:
  import {Socket} from "phoenix"
  import {LiveSocket} from "phoenix_live_view"
  import topbar from "../vendor/topbar"
+ import Sortable from "../vendor/sortable"
Once the Sortable library is imported, we can use it in our component by defining a Hook in the same file:
let Hooks = {}

Hooks.Sortable = {
  mounted(){
    let sorter = new Sortable(this.el, {
      animation: 150,
      delay: 100,
      dragClass: "drag-item",
      ghostClass: "drag-ghost",
      forceFallback: true,
      onEnd: e => {
        let params = {old: e.oldIndex, new: e.newIndex, ...e.item.dataset}
        this.pushEventTo(this.el, "reposition", params)
      }
    })
  }
}

let liveSocket = new LiveSocket("/live",
                   Socket,
                   {params: {_csrf_token: csrfToken}, hooks: Hooks}
                 )
After the list is rendered and the LiveView is done mounting, we need to set up the Sortable object that will handle the dragging and dropping magic. This is done inside the mounted callback, where we create a Sortable object and configure some options such as the animation speed and CSS classes to be applied to the selected item.
However, the most important part is defined inside the onEnd callback, which is executed once we drop the element being dragged. We create a constant params that contains an object with the positions of the element before and after being dragged, as well as a mysterious element ...e.item.dataset.
This last element contains all the values of custom attributes (e.g. data-x) that have been defined in the draggable HTML element. More on this in a few minutes.
Once the necessary parameters are defined, we send a reposition event to our component using pushEventTo.
Now let’s see what we need to add to our component.
Using SortableJS in LiveView components
We add a couple of lines to our component:
def render(assigns) do
  ~H"""
  <div class="bg-gray-100 py-4 rounded-lg">
    <div class="space-y-5 mx-auto max-w-7xl px-4 space-y-4">
      <.header>
        ...
      </.header>
-     <div id={"#{@id}-items"}>
+     <div id={"#{@id}-items"} phx-hook="Sortable" data-list_id={@id}>
        <div
          :for={item <- @list}
          id={"#{@id}-#{item.id}"}
          class="..."
+         data-id={item.id}
        >
          ...
        </div>
      </div>
    </div>
  </div>
  """
end
To the container of the list, we add the hook that we defined earlier, along with the data-list_id attribute that helps identify the list where elements are being dropped. We also include the data-id custom attribute in each container of the list elements, which helps to identificate the element being dragged.
Our component is now ready for use! Let’s prepare the necessary assigns and render it inside a LiveView.
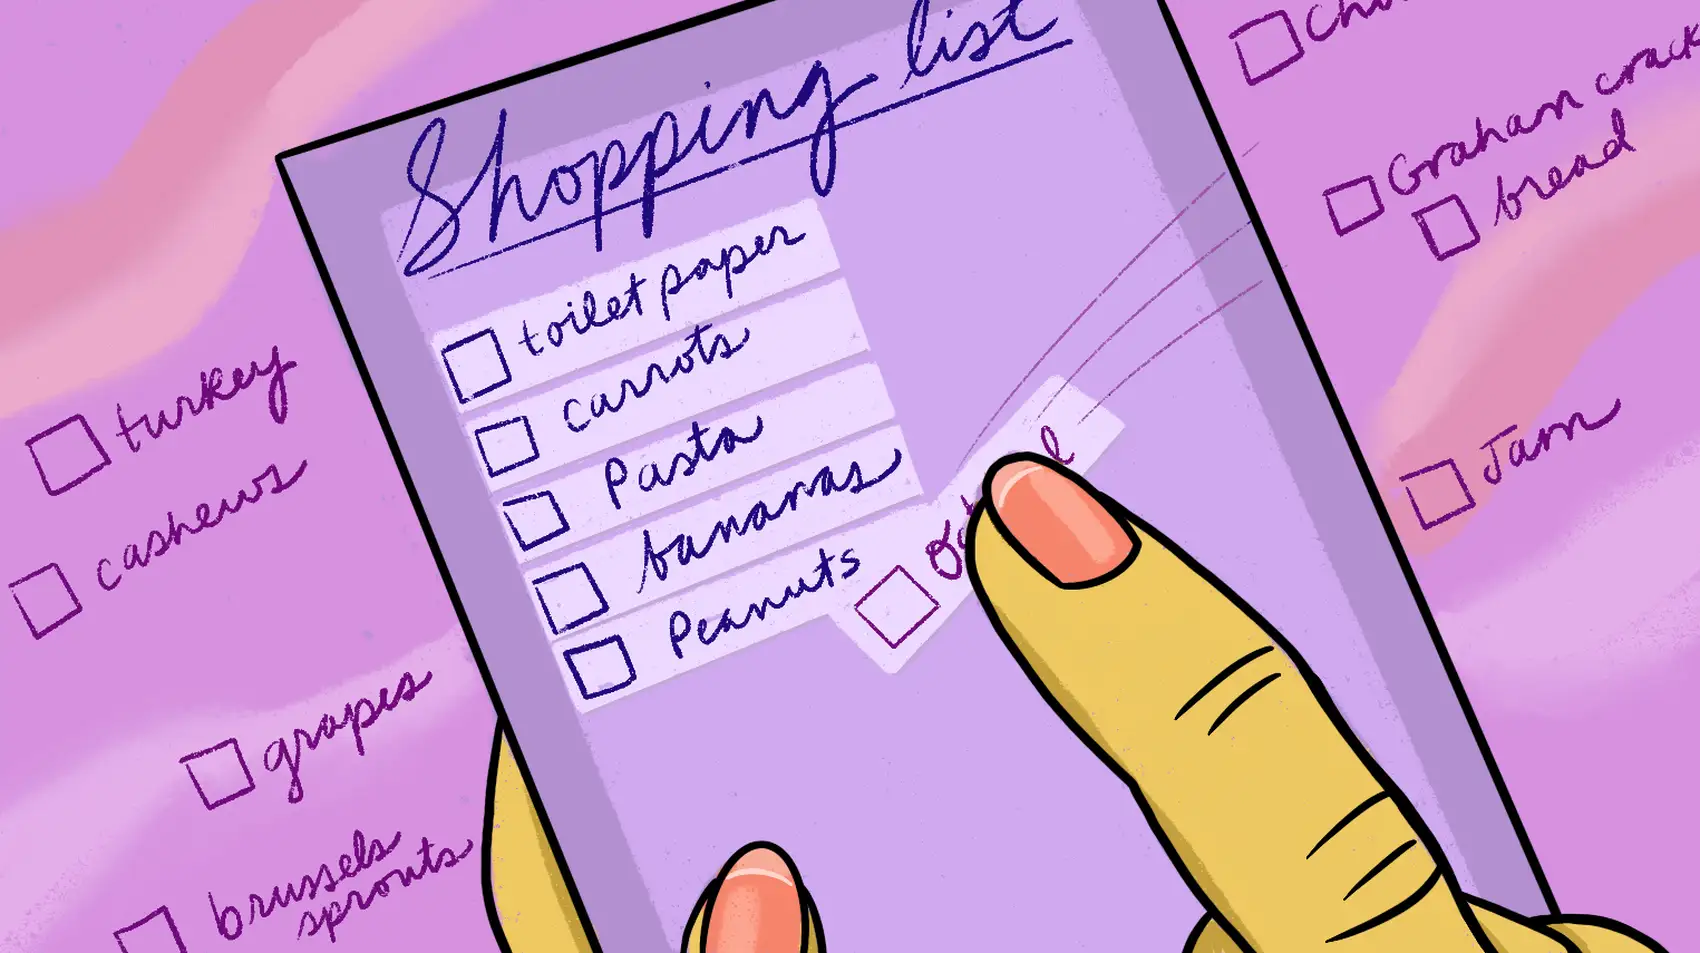
  defmodule ComponentsExamplesWeb.ShoppingListLive do
  use ComponentsExamplesWeb, :live_view

  def mount(_params, _session, socket) do
    list = [
      %{name: "Bread", id: 1, position: 1, status: :in_progress},
      %{name: "Butter", id: 2, position: 2, status: :in_progress},
      %{name: "Milk", id: 3, position: 3, status: :in_progress},
      %{name: "Bananas", id: 4, position: 4, status: :in_progress},
      %{name: "Eggs", id: 5, position: 5, status: :in_progress}
    ]

    {:ok, assign(socket, shopping_list: list)}
  end

  def render(assigns) do
    ~H"""
    <div id="lists" class="grid sm:grid-cols-1 md:grid-cols-3 gap-2">
      <.live_component
        id="1"
        module={ComponentsExamplesWeb.ListComponent}
        list={@shopping_list}
        list_name="Shopping list"
      />
    </div>
    """
  end
end
Let’s see what we’ve achieved:
Tada! Our component works!… or not?
Do you remember that the Hook sends some data to our component when an element dropped into its final position? We still need to handle that event:
def handle_event("reposition", params, socket) do
  #Put your logic here to deal with the changes to the list order
  #and persist the data
  IO.inspect(params)
  {:noreply, socket}
end
Let’s see what parameters are sent to our component:
%{
  "id" => "1",
  "new" => 1,
  "old" => 0,
}
Yay! We fixed the small error we had!
Did you notice any other issues in the video above? There is one small detail that needs improvement - the formatting of the ghost CSS that is displayed in the new position where we might drop the element, as well as the appearance of the dragged HTML element.
Let’s see how we can elegantly fix this.
Formatting draggable list items
Fixing this detail is simple. We’ve already specified the CSS classes to format the drop placeholder and the dragged article. However, instead of defining new CSS classes, we can leverage the ones already defined by Tailwind. The only issue is that we can only specify a single CSS class in the Sortable object’s configuration, not a list of classes.
Thankfully, there’s a neat solution: we can use Tailwind variants to extend the CSS classes we previously specified. To do this, we only need to add a few lines to our tailwind.config.js file:
 plugin(({addVariant}) => addVariant("phx-no-feedback", [".phx-no-feedback&", ".phx-no-feedback &"])),
 plugin(({addVariant}) => addVariant("phx-click-loading", [".phx-click-loading&", ".phx-click-loading &"])),
 plugin(({addVariant}) => addVariant("phx-submit-loading", [".phx-submit-loading&", ".phx-submit-loading &"])),
 plugin(({addVariant}) => addVariant("phx-change-loading", [".phx-change-loading&", ".phx-change-loading &"])),
+plugin(({addVariant}) => addVariant("drag-item", [".drag-item&", ".drag-item &"])),
+plugin(({addVariant}) => addVariant("drag-ghost", [".drag-ghost&", ".drag-ghost &"])),
And make a small modification to our component:
def render(assigns) do
  ~H"""
  <div class="bg-gray-100 py-4 rounded-lg">
    <div class="space-y-5 mx-auto max-w-7xl px-4 space-y-4">
      <.header>
        ...
      </.header>
      <div id={"#{@id}-items"} phx-hook="Sortable" data-list_id={@id}>
        <div
          :for={item <- @list}
          id={"#{@id}-#{item.id}"}
          class="..."
          data-id={item.id}
+         class="
+         drag-item:focus-within:ring-0 drag-item:focus-within:ring-offset-0
+         drag-ghost:bg-zinc-300 drag-ghost:border-0 drag-ghost:ring-0
+         "
        >
-          <div class="flex">
+          <div class="flex drag-ghost:opacity-0">
           ...
          </div>
        </div>
      </div>
    </div>
  </div>
  """
end
Let’s see how it looks:
Tada! looks better huh?
Fly.io ❤️ Elixir
Fly.io is a great way to run your Phoenix LiveView app close to your users. It’s really easy to get started. You can be running in minutes.
Deploy a Phoenix app today! →
Bonus: multiple lists
What if we want to drag items between different lists? It is an option that Sortable already has, we just have to configure it:
Hooks.Sortable = {
+ let group = this.el.dataset.group
  mounted(){
    let sorter = new Sortable(this.el, {
+     group: group ? group : undefined,
      animation: 150,
      delay: 100,
      dragClass: "drag-item",
      ghostClass: "drag-ghost",
      forceFallback: true,
      onEnd: e => {
        let params = {old: e.oldIndex, new: e.newIndex, ...e.item.dataset}
        this.pushEventTo(this.el, "reposition", params)
      }
    })
  }
}
With this option, you can move items between all lists that share the same group. Now we just need to add an assign :group to our component, and the :data-group attribute to the <div> where we set the Hook:
def render(assigns) do
  ~H"""
  <div class="bg-gray-100 py-4 rounded-lg">
    <div class="space-y-5 mx-auto max-w-7xl px-4 space-y-4">
      <.header>
        ...
      </.header>
-       <div id={"#{@id}-items"} phx-hook="Sortable" data-list_id={@id}>
+         <div
+           id={"#{@id}-items"}
+           phx-hook="Sortable"
+           data-list_id={@id}
+           data-group={@group}
+        >
           ...
          </div>
        </div>
      </div>
    </div>
  </div>
  """
end
We can add as many lists as we need:
def render(assigns) do
  ~H"""
  <div id="lists" class="grid sm:grid-cols-1 md:grid-cols-3 gap-2">
    <.live_component
      id="1"
      module={ComponentsExamplesWeb.ListComponent}
      list={@shopping_list}
      list_name="Shopping list 1"
+     group="grocery_list"
+   />
+   <.live_component
+       id="2"
+       module={ComponentsExamplesWeb.ListComponent}
+       list={@shopping_list}
+       list_name="Shopping list 2"
+       group="grocery_list"
+     />
  </div>
  """
end
We can also send the data to identify the destination list as part of the event parameters sent to the component, by using the e.to.dataset attribute:
Hooks.Sortable = {
 let group = this.el.dataset.group
  mounted(){
      ...
      onEnd: e => {
-       let params = {old: e.oldIndex, new: e.newIndex, ...e.item.dataset}
+       let params = {old: e.oldIndex, new: e.newIndex, to: e.to.dataset, ...e.item.dataset}
        this.pushEventTo(this.el, "reposition", params)
      }
    })
  }
}
As a result, we obtain new parameters that can be used to identify the destination list and modify the event handling logic accordingly:
%{
  "id" => "1",
  "new" => 2,
  "old" => 1,
  "to" => %{"group" => "grocery_list", "list_id" => "2"}
}
Discussion
In this post, we’ve learned how to set up SortableJS in our LiveView app and use it in our live components. But here’s the thing - we’re not actually doing anything with the data we send from the client to the server yet. We still need to figure out how to persist our elements and the position changes.
In addition, currently we’re keeping all the elements of the list in memory, which is an area for potential improvement. Fortunately, LiveView provides some incredible tools that allow us to effectively manage large collections without needing to keep them all in server memory at all times. So, the next step is to optimize our component using LiveView Streams.