
Here’s Sophie DeBenedetto, co-author of Programming Phoenix LiveView, with a deep dive into building a toggling UI element with LiveView’s JS.toggle command. Coincidentally, you can run Phoenix LiveView apps here on Fly.io! Get started.
LiveView empowers developers to be more productive than ever before by keeping your mind firmly focused on the server, even while you build out rich interactive UIs. But until recently, we were somewhat limited by LiveView’s reliance on server-side state to manage those interactions. With LiveView’s new JS commands, you can manage common UI interactions purely on the client, while still maintaining accurate and up-to-date state on the server. In this post, we’ll use JS commands to build a toggle feature. When we’re done, you’ll have a solid understanding of how to use JS commands to build common UI interactions on the client in LiveView.
The Problem
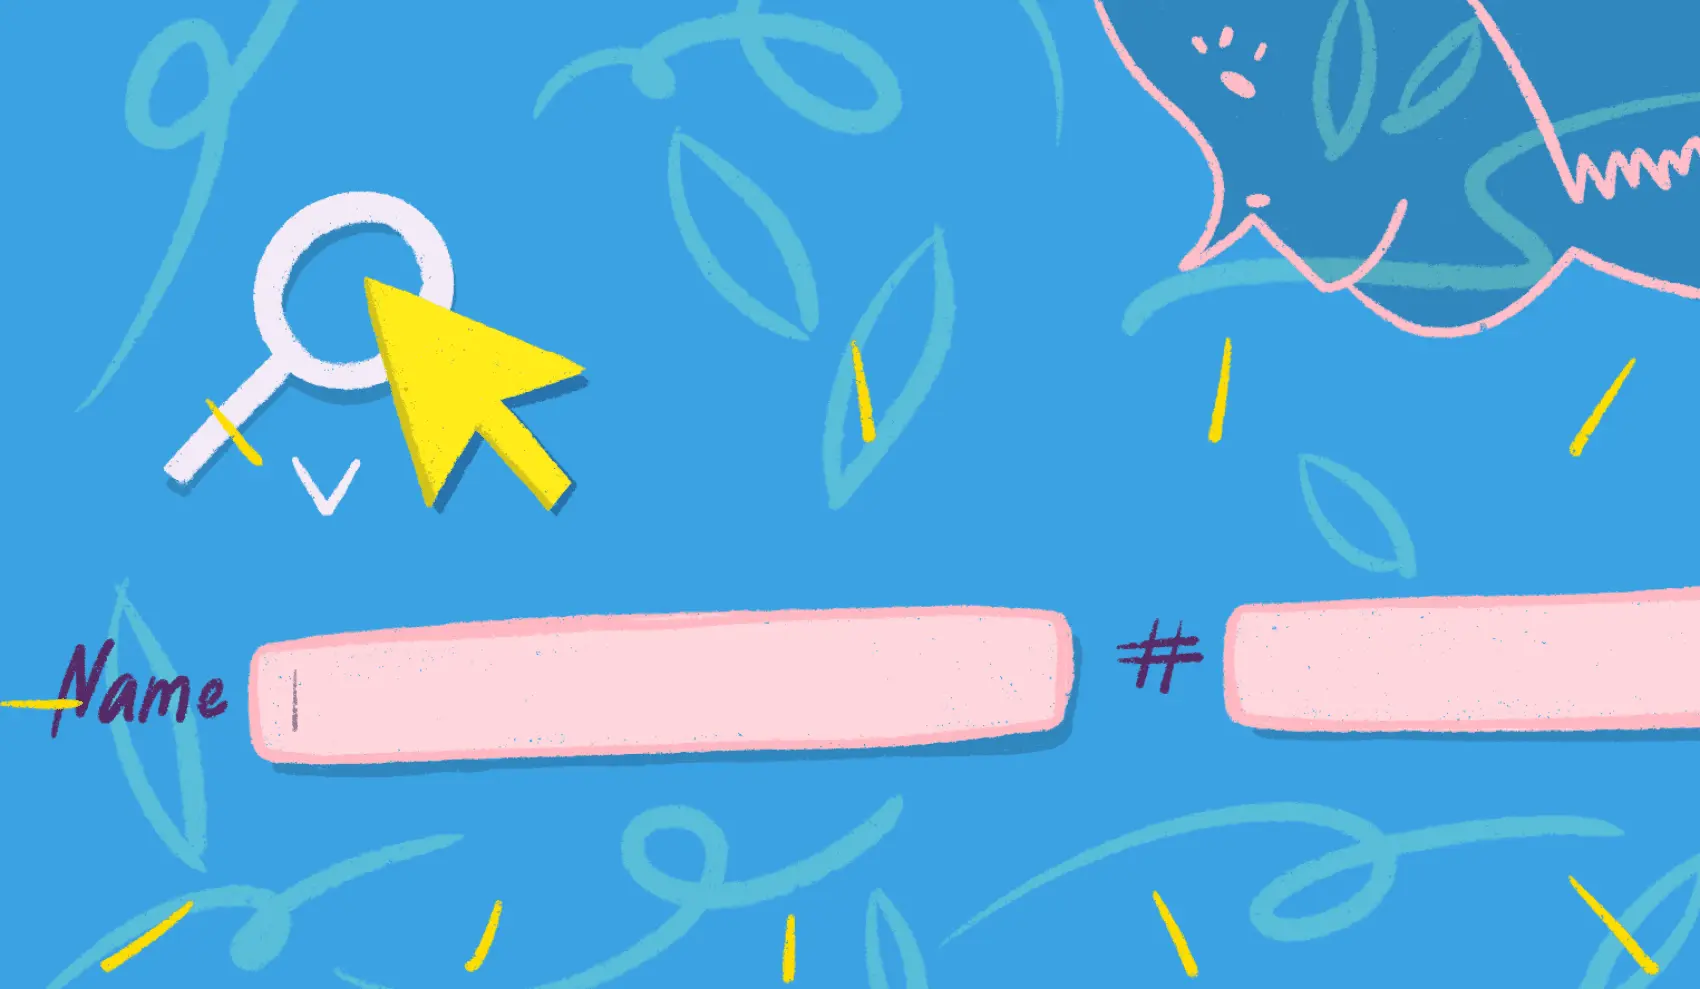
You want to toggle the appearance of some content on your live view page in response to a user’s interaction. For example, you want to show/hide a search form when the user clicks the “search” icon, like this:
Without LiveView’s JS commands, you’d be forced to send an event to the server to update socket state to indicate that the form should be shown/hidden. Your template would have some conditional logic to show/hide the search from depending on some key in socket assigns. The live view’s template would re-render when you updated that socket assigns key in response to the user clicking the search icon, thereby showing or hiding the form appropriately. This means a round-trip to the server to do something that a simple JavaScript snippet can do for you. But we’re LiveView developers; we like to let the LiveView framework handle our JavaScript for us. Well, now we can.
The Solution
The Phoenix.LiveView.JS module provides functionality to invoke client-side operations in response to LiveView events like the phx-click event. It abstracts away some of the most common JS interactions, like showing/hiding content, adding/removing classes, setting CSS attributes, and transitioning CSS classes. It builds these interactions directly into the LiveView JS framework and exposes an easy-to-use API you can use to execute these JS commands in response to user events on your live view page.
Example: Toggling a Form
First, we’ll take a look at a simple example. Then, we’ll break down how it works under the hood before making our example slightly more advanced. Let’s turn our attention back to the search form that we want to toggle. We’d like the form to be hidden when the user loads the page, so we’ll give the form an ID of #book-search-form and add some custom css to app.scss to set the display to none.
# lib/live_library_web/live/book_live/search_component.html.heex

<.form
  let={f}
  for={@search_changeset}
  id="book-search-form"
  phx-submit="search"
  phx-target={@myself}
  class={@search_class} >

<!-- ... -->

/* assets/css/app.css */

#book-search-form {
 display: none;
}
Great. Now when the page loads, the form will be hidden. Next up, we’ll use the Phoenix.LiveView.JS.toggle/1 function to toggle the display attribute between none and block. Before we do though, let’s take a look at the code that renders the search icon into the search form template.
We have a simple function component, Search.icon/1 that display the search icon. Here’s a look at our function component:
# lib/live_library_web/live/book_live/search.ex

defmodule LiveLibraryWeb.Search do
  use Phoenix.Component

  def icon(assigns) do
    ~H"""
    <i class="bi bi-search"></i>
    """
  end
end
Our Search module implements one function, icon/1, that returns some HEEx markup with the search Bootstrap icon. Assuming we’ve aliased the LiveLibraryWeb.Search module in the live view or live component rendering the search form template, we can render our function component in that template like this:
<Search.icon />
With that in place, we’re ready to add our JS binding. Add a phx-click binding to the icon element with a value of the JS.toggle/1 function call:
def icon(assigns) do
  ~H"""
  <i phx-click={JS.toggle(to: "#book-search-form")} class="bi bi-search"></i>
  """
end
And that’s it! Now, when the user clicks the search icon, the phx-click event will fire which will trigger LiveView’s JavaScript to toggle the value of the CSS display attribute of the specified element between none and block. This one small line of code is incredibly powerful, and it’s all we need in order to implement this purely client-side interaction.
Let’s take a brief look at how it works under the hood. Then, we’ll add some more advanced options to our toggling example.
LiveView JS Commands Under the Hood
We’ll examine how the Phoenix.LiveView.JS module and the front-end JS object work together to implement the JS toggle command. First up, let’s revisit our toggle-adding code here:
<i phx-click={JS.toggle(to: "#book-search-form")} class="bi bi-search"></i>
Here’s where the magic happens:
phx-click={JS.toggle(to: "#book-search-form")}
This call to JS.toggle/1 returns a Phoenix.LiveView.JS struct that looks like this:
%Phoenix.LiveView.JS{
  ops: [
    [
    "toggle",
      %{
        display: nil,
        ins: [[], [], []],
        outs: [[], [], []],
        time: 200,
        to: "#book-search-form"
      }
    ]
  ]
}
You can see the :to attribute is populated with our "#book-search-form" CSS selector, and the remaining attributes are set to their default values. We’re not taking advantage of the additional attributes at this time, but you can optionally specify a :display value to set when the element is toggled (defaults to “block” on the front-end), as well as classes to apply/remove when the element is transitioning in and out of visibility, and the time duration for which to apply those transition classes.
When LiveView renders our template, this struct is rendered by Phoenix.HTML.Safe and appears as the following markup in the UI:
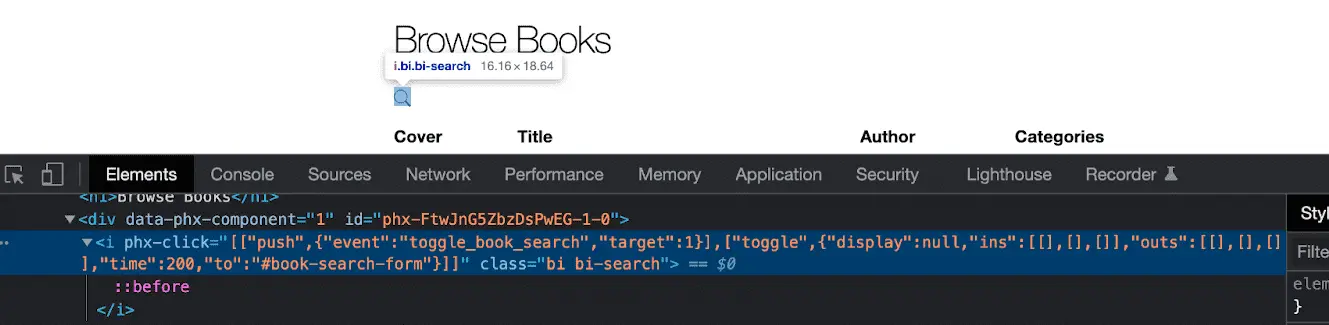
You can see that all this has done is add a phx-click event that specifies an event that looks like this:
[["toggle",{"display":null,"ins":[[],[],[]],"outs":[[],[],[]],"time":200,"to":"#book-search-form"}]]
Recall that when the page loads, the app.js file loads with it. The app.js file that is generated when you generate your Phoenix LiveView app contains these lines:
let liveSocket = new LiveSocket("/live", Socket, {params: {_csrf_token: csrfToken}, hooks: Hooks})
// ...
liveSocket.connect()
Under the hood, liveSocket.connect() will call the bindClick() function that adds an event listener for every phx-click event. At a high level, the code looks like this:
window.addEventListener(eventName, e => {
  //  ...
  JS.exec("click", phxEvent, view, target, ["push", {data: this.eventMeta("click", e,target)}])
}, capture)
That brings us to the JS.exec function. This function pulls the event “kind” out of the name (in our case "toggle") and dynamically invokes exec_${kind}, as you can see here:
this[`exec_${kind}`](eventType, phxEvent, view, sourceEl, el, args);
Finally, the exec_toggle function is invoked, which implements the logic to toggle the value of the display attribute on the target element and apply any transition classes.
All of this happens within the LiveView framework. The only thing we had to do to trigger the toggling JavaScript was add one phx-click binding to our HTML element.
Now that we have a basic understanding of how LiveView JS commands work, let’s revisit our toggle command make it a little more sophisticated.
Fly.io ❤️ Elixir
Fly.io is a great way to run your Phoenix LiveView app close to your users. It’s really easy to get started. You can be running in minutes.
Deploy a Phoenix app today! →
Trigger Client- and Server-Side Interactions Together
JS commands let us execute common UI interactions entirely on the client, without round-tripping to the server. But what if we also want to push some message to the server in response to the same phx-click event? We can chain a call to the JS.push/1 function to push a message to the server while still toggling our search form entirely on the client-side. We want our push event to target the live component that is rendering the search icon function component. So, when we call Search.icon/1 in that component’s template, we’ll pass in a target assignment, like this:
<!-- lib/live_library_web/book_live/search_component.html.heex -->

<Search.icon target={@myself} />
Now, add the following to your phx-click event:
def icon(assigns) do
  ~H"""
  <i phx-click={JS.push("toggle_book_search", target: @target) |> JS.toggle(to: "#book-search-form")} class="bi bi-search"></i>
  """
end
First, we call JS.push("toggle_book_search", target: @target), then we pipe the resulting Phoenix.LiveView.JS struct to a call to JS.toggle/1. This nice neat reducer pipeline is eloquent and easy to read. We can even wrap it up in a helper function like this:
def icon(assigns) do
  ~H"""
  <i phx-click={toggle(@target)} class="bi bi-search"></i>
  """
end

def toggle(target) do
  JS.push("toggle_book_search", target: target)
  |> JS.toggle(to: "#book-search-form")
end
Before we build an event handler, let’s think about what we want to happen when the user clicks the icon. We know we want the search form to be shown/hidden, but let’s say we also want to update the URL to /books?search and ensure that if a user navigates directly to /books?search, the search form is shown. We’ll take a step back and tackle that second behavior first.
When a user visits /books?search, the search form should be shown. Let’s implement a new CSS rule that sets display: block; for a CSS selector with an ID of #book-search-form and a class of .show:
/* app.scss */

#book-search-form.show {
  display: block;
}
Next up, let’s implement a handle_params/3 function in the parent live view that stores the appropriate CSS class name in state depending on the URI:
# lib/live_library_web/live/book_live/index.dex

def handle_params(_params, uri, socket) do
  if String.match?(uri, ~r/search/) do
    {:noreply, assign_search_class(socket, "show")}
  else
    {:noreply, assign_search_class(socket)}
  end
end

def assign_search_class(socket) do
  assign(socket, :search_class, "")
end

def assign_search_class(socket, class) do
  assign(socket, :search_class, class)
end
The index template renders the search live component, and the search component renders the form. We’ll update the form markup in the search live component now to apply a class of the @search_class assignment:
<!-- lib/live_library_web/book_live/search_component.html.heex -->

<.form
  let={f}
  for={@search_changeset}
  id="book-search-form"
  phx-submit="search"
  phx-change="update"
  phx-target={@myself}
  class={@search_class} > <!-- add this line -->
Now, when a user points their browser at /books?search, the live view will set :search_class in socket assigns to "show", and our CSS rule will kick-in and set display: block;. If the user points their browser at /books, the live view socket assigns will set :search_class to "", and our CSS rule will not kick-in. This will will the #book-search-form CSS rule in place, setting display: none;.
With this logic in place, we’re finally ready to implement the event handler for the "toggle_book_search" event that we’re pushing to the live component when the user clicks the search icon. Let’s do that now:
# lib/live_library_web/live/book_live/search_component.ex

def handle_event("toggle_book_search", _value, socket) do
  if socket.assigns.search_class == "show" do
    {:noreply, push_patch(socket, to: "/books")}
  else
    {:noreply, push_patch(socket, to: "/books?search")}
  end
end
Our event handler is fairly simple. If the socket assigns :search_class is already set to "show", then push a patch to /books. Otherwise, push a patch to /books?search. This will invoke the parent LiveView’s handle_params/3 callback. This will update the URL and change the value of socket.assigns.search_class accordingly. But, the page won’t re-render. This is because the JS.toggle client-side code already fired and updated the display CSS value of the target element, so there will be no changes to display. No changes means no re-rendering. With this, we achieve the following:
- A user can navigate directly to
/booksand see a search icon with no form. - A user can navigate directly to
/books?searchand see a search icon and a search form. - If the form is hidden, a user can click the icon and see the URL update to
/books?searchand see the form appear, all without reloading any portion of the page.
Thanks to our ability to chain JS commands, and push events to the server even while we continue to trigger client-side code, we get all of this for just a few lines of Elixir code.
JS Commands Give Us Simple and Powerful Client-Side Interactions
You’ve seen how the LiveView framework abstracts away more and more of the commonly reached-for pieces of functionality that back the average modern web page. Now, you get even more JavaScript-powered features without writing any of your own JavaScript.
Check out the full functionality in the docs and check out this post to play around with even more JS commands functionality.